
 Share
Share
 Print
Print
|
|
|
|
|
The A/C Readiness import is useful when creating master data. This import can be used to create, add, enhance, or modify the template being used to import aircraft information. This option is used to import Aircraft Readiness Records into TRAX for a certain aircraft tail number. A manufacturer will provide an Aircraft Readiness Records file with an aircraft. This file can be either a Microsoft Excel file or a tab delimited text file. This file will contain all the serialized rotable parts installed on that particular aircraft. The A/C Readiness Load option is especially useful if the aircraft information being loaded is of a different Type/Series and the part numbers are NOT already in the P/N Master.
Although the A/C Readiness Records File has 39 fields only the following 7 fields will be imported into the system.
- Part Description
- Part Number
- Quantity
- Vendor Code
- Serial/Lot Number
- ATA Chapter
- Misc Location
Note: Please refer to Preparing the A/C Readiness Load File to access a link to the A/C Readiness Load Template which is necessary to create the .xsl file.
The A/C Readiness Records can be loaded directly into Inventory or to the A/C Initial Template Load in Technical Records where the records can be updated before they are saved to inventory.
When uploading a document into TraxDoc, the file that is being uploaded must be in a location where the eMRO server will recognize it. See below instructions:
- The IT department on the user side must select a directory to work as a repository for all the OEM manuals that would be uploaded to eMRO via the TraxDoc module.
- This directory must be accessible from the application server (Wildfly).
- Create a way for users to provide the OEM manual revisions to be placed in the repository.
- The path for the repository directory will be defined by the traxdoc_manual variable on the data.source.properties file. This can be found under the application server (/%WILDFLYHOME%/deployments/emro.war/WEB-INF/classes/resources/).
SaaS customers should refer to the instructions outlined in this document in iCentral: SaaS - How to Upload TraxDoc Manuals.
The following topic will detail the following:
- How to create a Traxdoc for the ACRD doctype
- How to Load an ACRD into TraxDoc
- How to Import the ACRD into the system
TraxDoc Set Up A/C Readiness (ACRD):
Create a TraxDoc. The Category selected is 'ACR1'.
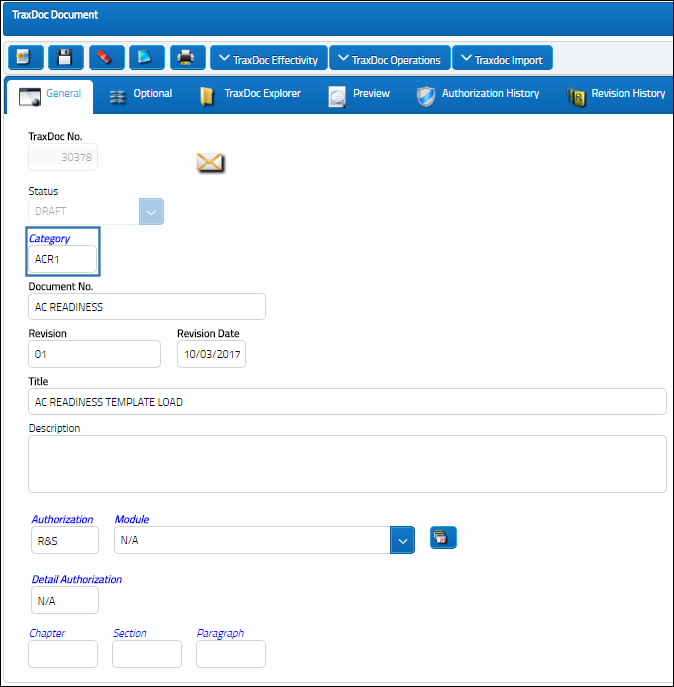
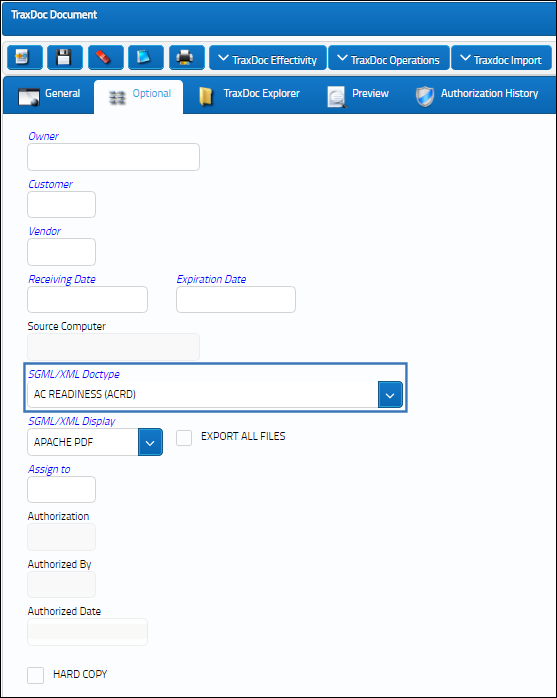
Specify the SGML/XML Doctype in the TraxDoc Document Detail, Optional tab. In this example, select AC Readiness (ACRD).
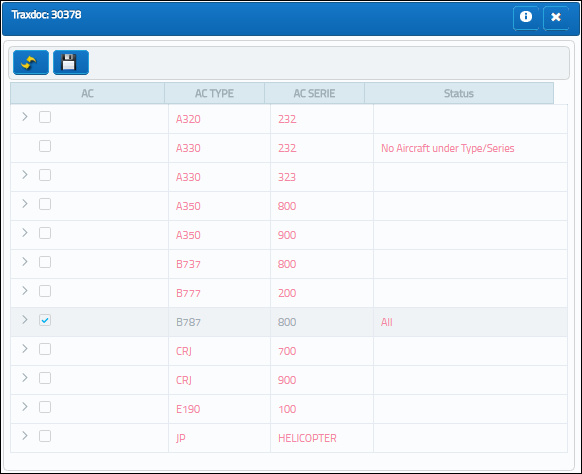
Select the Effectivity ![]() button to apply Effectivity to the TraxDoc.
button to apply Effectivity to the TraxDoc.
Loading A/C Readiness XSL into TraxDoc:
To load an A/C Readiness .XSL file into TraxDoc, follow the steps below.
From the TraxDoc Explorer, select the Import File ![]() button.
button.
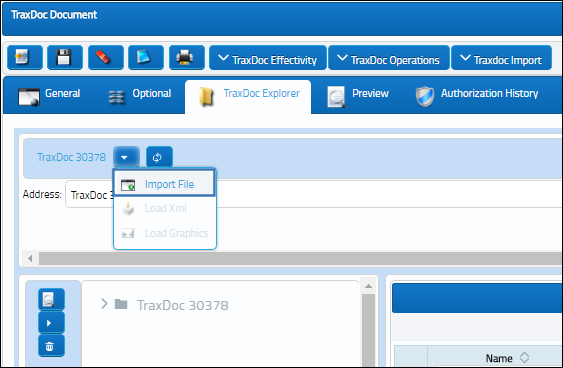
The Traxdoc File Import window pops up.
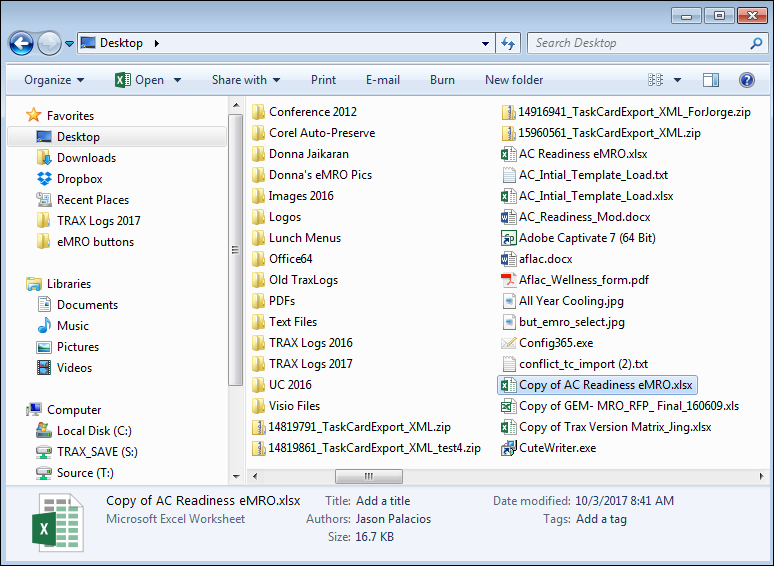
Select the Add File button.
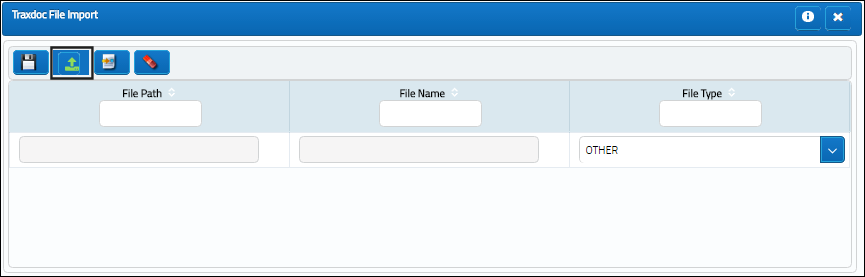
Locate and select the desired .xlsx file.
Once the file has been selected, specify the File Type as 'IMPORT XSL' and save.

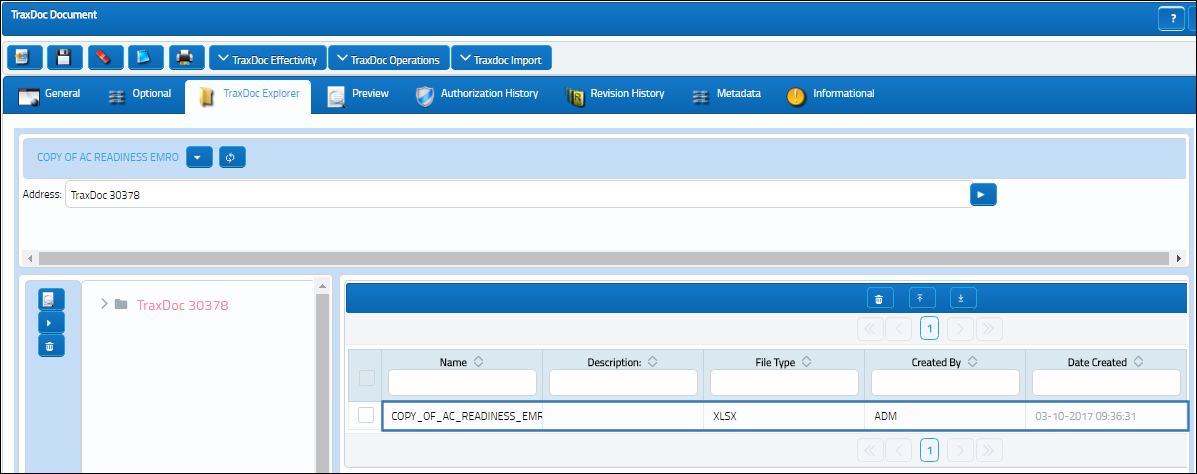
The file has been loaded as shown below.
Save the TraxDoc Master record once more.
Importing the A/C Readiness Load Data into the System:
From the TraxDoc Import drop down, select the Import Data ![]() button.
button.
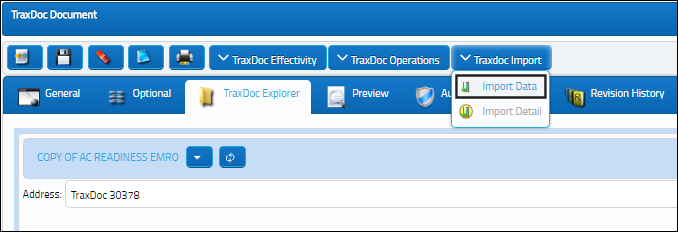
The AC Readiness To Import window pops up. Populate all necessary information and select the Run ![]() button.
button.
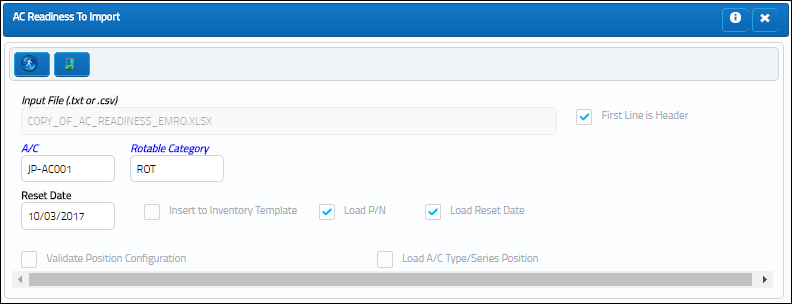
The following information/options are available in this window:
_____________________________________________________________________________________
Import File (.txt or .csv)
Select into the field to select the Tab Delimited Aircraft Readiness Record Text File that was supplied by the manufacturer.
Note: Make sure that A/C Readiness Text File is properly set up.
First Line is Header
Select this checkbox if the first line of the Import File is a header and should not be imported.
A/C
The individual aircraft tail number. Select an Aircraft Tail Number to load the Aircraft Readiness Records for. If the Load P/N checkbox is selected, A/C Effectivity is created against the P/N in the P/N Master that is entered in the import file.
Note: The Aircraft must exist in the Aircraft Master.
Rotable Category
The P/N Category to assign to new parts that will be created in the P/N Master.
Reset Date
This date entered will be used for the component's aircraft Installed Date, Birth Date, P/N Controls Reset Date, and P/N E/Cs Effective Date. This is usually the service date of the aircraft.
Note: The date entered must be in the MM-DD-YYYY format.
Insert to Inventory Template checkbox
Check to load the A/C Readiness Records to the A/C Initial Template Load in Technical Records where the records can be verified and updated before loading to inventory.
Note: If this is checkbox is not selected, the records will be loaded directly to inventory.
Load P/N checkbox
When selected the system inserts new parts.
Load Reset Date checkbox
When selected, the date entered in the Mfg Date column of the import file will be used as the component's Birth Date, P/N Controls Reset Date, and P/N E/Cs Effective Date; the Reset Date field will be used to determine the component's aircraft Installed Date. If the checkbox is not selected, the components Birth Date, P/N Controls Reset Date,and P/N E/Cs Effective Date will default to the date entered in the Reset Date field.
Validate Position Configuration
Select this checkbox to have the system validate that the Positions in the import file already exist in the system. If the Positions do not exist in the system, the import may fail or errors may occur.
Load A/C Type/Series Position
When selected the system adds all positions to the imported parts.
_____________________________________________________________________________________
Once the import is completed, this will be indicated as shown below:
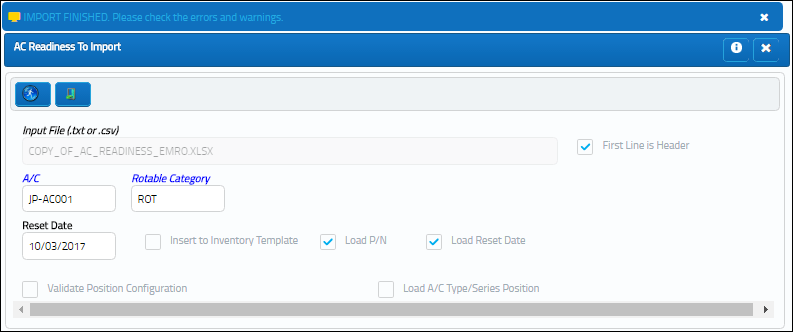
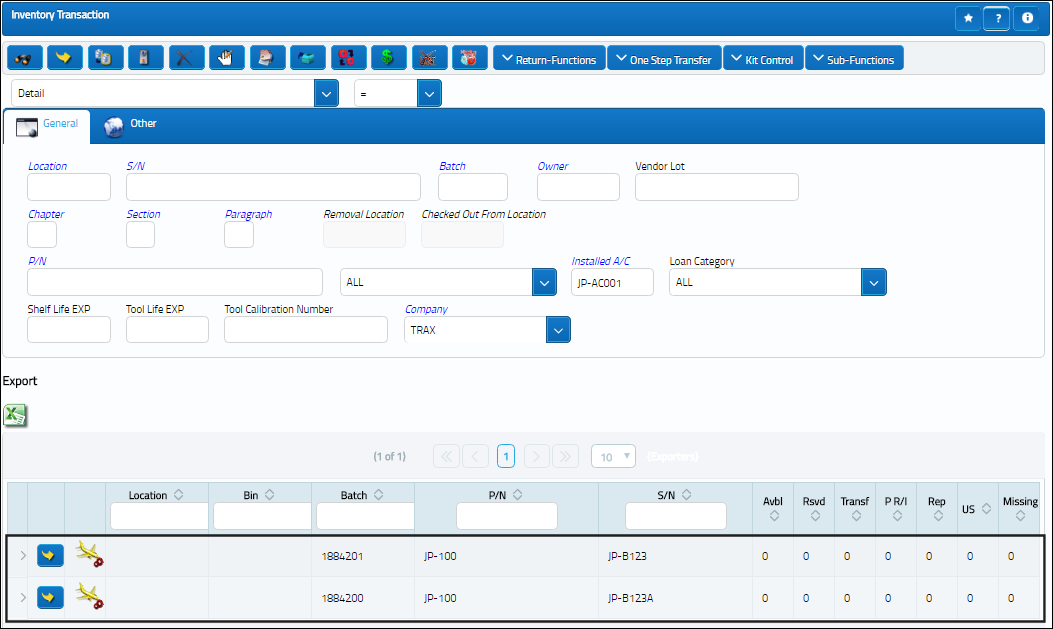
As shown below, the information from the A/C Readiness Load has been imported into the system.
Since the Insert to Inventory Template checkbox was deselected, the records were loaded directly into Inventory, as shown below.
Share
Print
|
©1997-2024 Trax USA Corp. All rights reserved. This manual may not be copied, photocopied, reproduced, translated, or converted to any electronic or machine-readable form, in whole or in part, without prior written approval from Trax USA Corp. |
|