
 Share
Share
 Print
Print
|
|
|
|
|
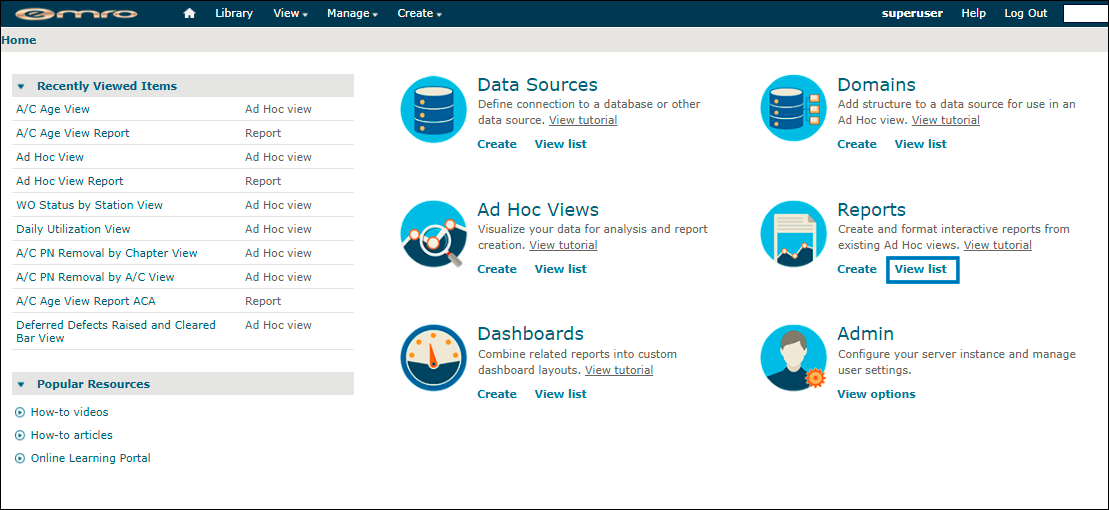
Upload Custom Print
Custom reports can be created using a third party application outside of eMRO called JasperReports. This application allows the user to create custom reports and import them into the Upload Custom Print window via the Settings module. Once the report has been imported, it will appear under that modules Print menu. Reports can be stored for later use or deleted once they are no longer needed. For information how to create custom reports, refer to the Jasper Studio help documentation.
![]() Note: The functionality of this window has been updated to utilize JasperReport Server instead of Jaspersoft Studio. As such the details of this window have been updated in eMRO Version 5. See below.
Note: The functionality of this window has been updated to utilize JasperReport Server instead of Jaspersoft Studio. As such the details of this window have been updated in eMRO Version 5. See below.
![]() This window is security controlled via Settings/ Update/ Upload Custom Print. For additional information, refer to the Security Explorer via the System Administration Training manual.
This window is security controlled via Settings/ Update/ Upload Custom Print. For additional information, refer to the Security Explorer via the System Administration Training manual.
1. Access JasperReports
In order to create customized reports that can be imported into eMRO, a JasperReports account needs to be created and installed on a dedicated server. Once installed on the server, the JasperReports environment must be linked to the eMRO database.
Note: As mentioned in the eMRO Deployment Guide, a Dependency Software and Drivers Package is available for download here that includes JasperReport Server licensing, drivers, and deployment documentation.
Note: If a report already exists in eMRO and just needs to be modified, refer to Modifying Exiting Reports.
Once the JasperReport Server is installed, the JasperReports must be connected to the eMRO database in order to be able to create reports using said eMRO data. For more information on how to connect the eMRO database refer to Connecting Jaspersoft to the eMRO Database.
As reports are created in Jaspersoft, using the URL links to the direct report, these reports can be linked to eMRO Print windows.
2. Configure the eMRO Properties File
In order link the eMRO database to the Jaspersoft URLs, the following properties must be added to the datasource.properties file.
- Jasper Report Domain Name
- Jasper username
- Jasper password
For detailed information regarding the Jasper Variables to be set up in the eMRO datasource.properties file, refer to the eMRO Deployment Guide.
3. Link a Report to eMRO Modules
From the Upload Custom Print window in eMRO, the reports from Jasper can be linked to the desired module's print windows.
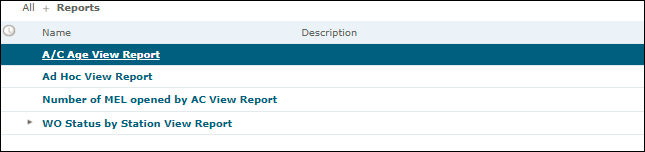
Prior to linking a Jasper report to eMRO, the URL for the specific report needs to be opened. From the Jaspersoft site select View list from the Reports section.
All reports that have been created in Jaspersoft should be listed here. Select the desired report to be linked to eMRO.
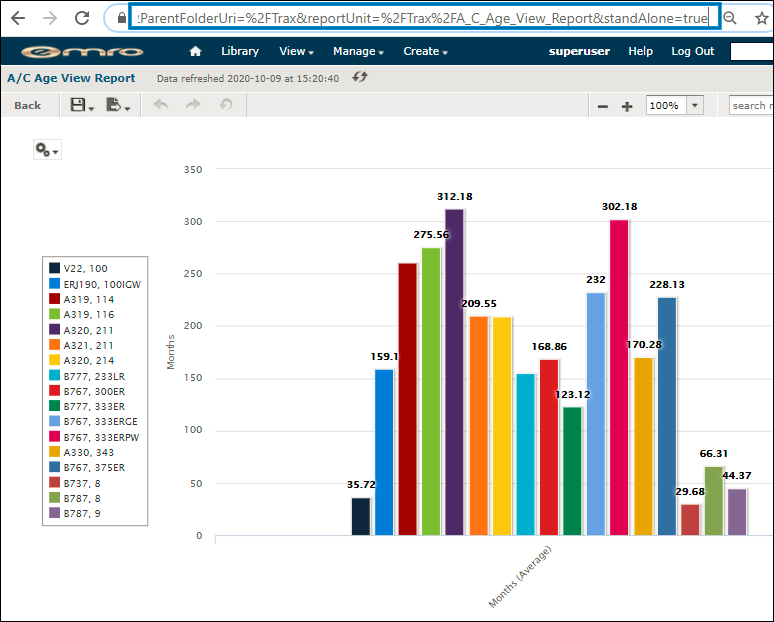
Information from the URL for the selected report will be required in the following steps.
From eMRO, go to the Settings/ Update/ Upload Custom Print window and select the New ![]() button.
button.
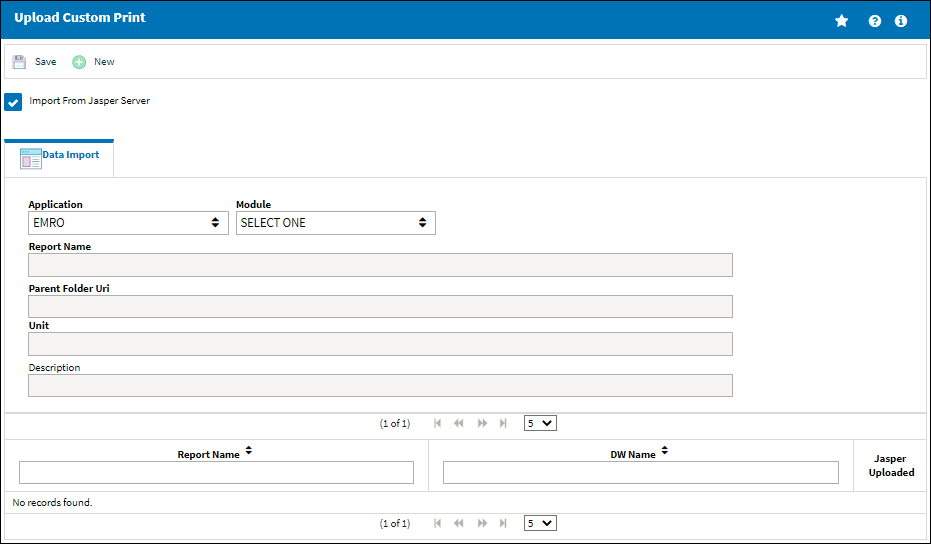
The report can be accessible from eMRO, or from the eMobility web applications such as Production Control. If eMRO is selected, specify the Module and the specific Print Window where the report will be made available to users.
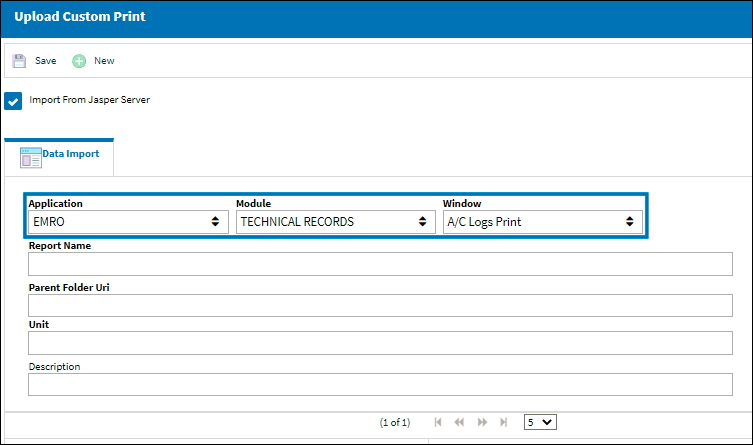
Enter the Report Name which will appear in the Print window and a Description.
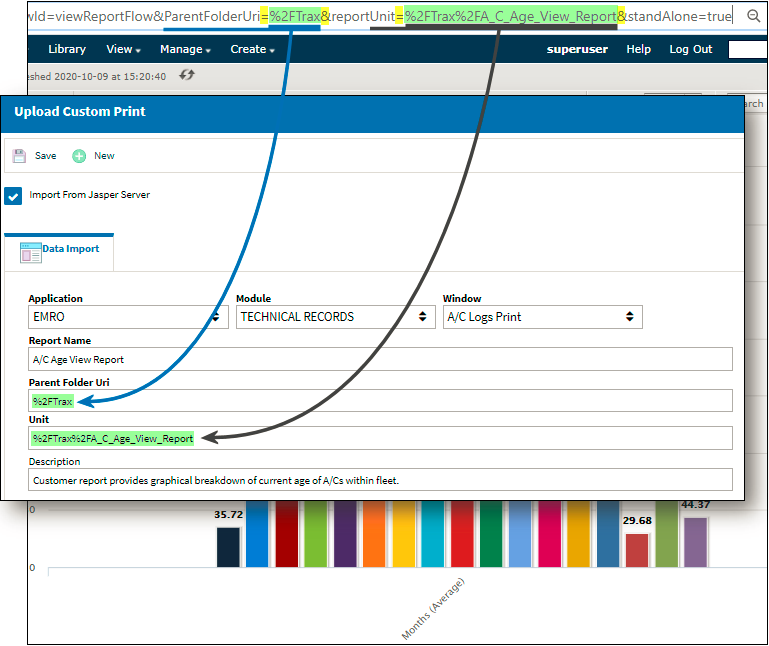
To link the report in eMRO to the report in the Jasper app, the Parent Folder Uri and the Unit located in the URL of the Jasper report must be specified in the respective fields of the Upload Custom Print window.
The properties from the URL to be entered into the Uri and Unit fields includes everything in between the '=' and the '&' characters.
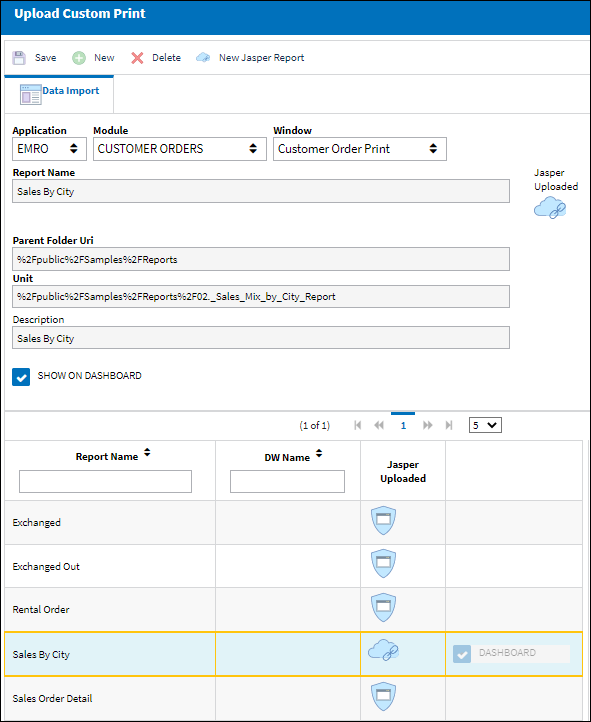
Select the Save ![]() button. The new print will be listed in the window.
button. The new print will be listed in the window.
![]()
![]() Note: The Show On Dashboard checkbox allows users to view the custom print in the Dashboard Window. New custom prints are security controlled via the Security Explorer and will only appear in the Dashboard window if this checkbox is selected and the user has security access. For more information regarding the Show on Dashboard checkbox, please see eMRO Upload Custom Print, via the Settings/Update Menu module.
Note: The Show On Dashboard checkbox allows users to view the custom print in the Dashboard Window. New custom prints are security controlled via the Security Explorer and will only appear in the Dashboard window if this checkbox is selected and the user has security access. For more information regarding the Show on Dashboard checkbox, please see eMRO Upload Custom Print, via the Settings/Update Menu module.
At this point the Security for the new print must be established per user. From the Security Explorer, ensure that the applicable users have access to the new print. (By default, users will not automatically have access to the new print.)
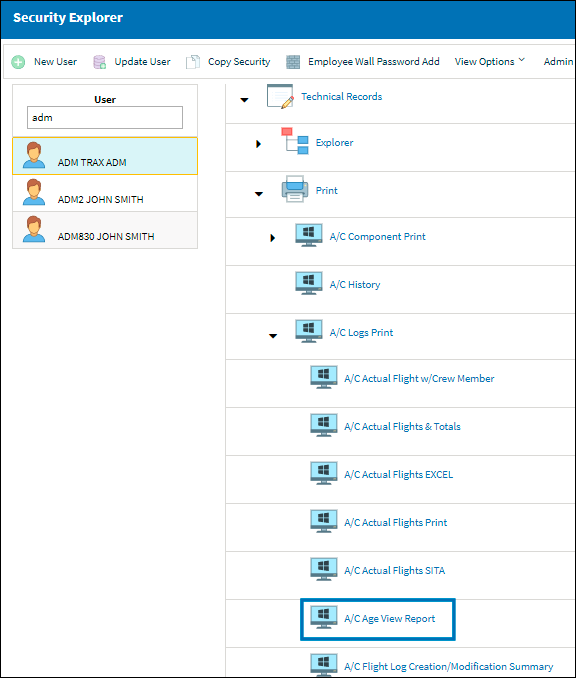
Users that have access to the print can now navigate to the print window and generate the print as required.
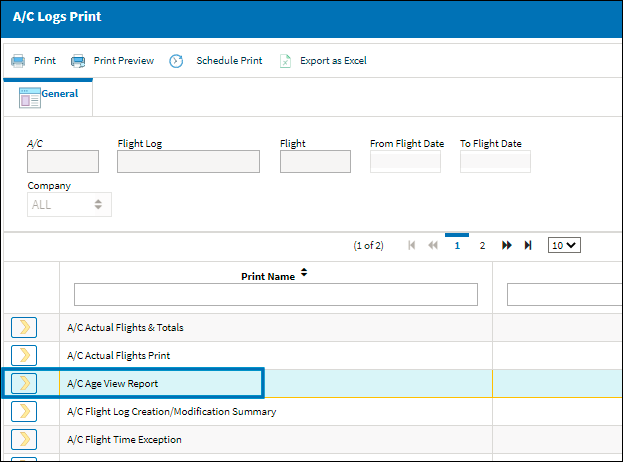
Select the new print, then select the Print ![]() button.
button.
Note: The search fields at the top of the window will not be functional for custom reports. Any filters need to be applied directly in JasperReport.
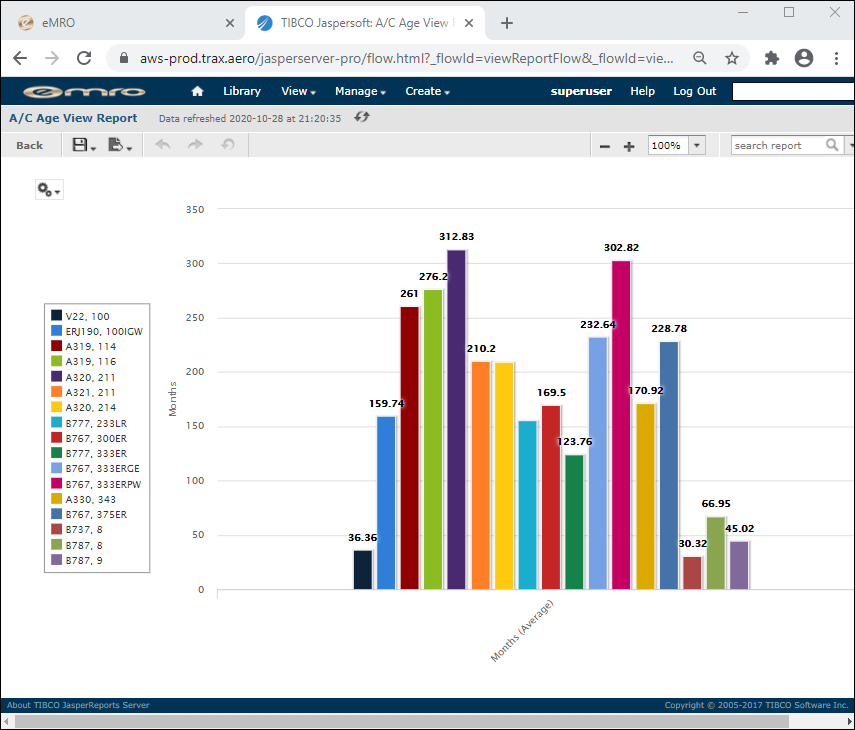
Instead of a print being generated in the Print Queue, a new tab will open in the browser where the Jasper report window will be displayed.

The following information/options are available in this window:
_____________________________________________________________________________________
Module
Select the system module the report will be listed under once imported.
Window
Select the window that the report will be listed under once imported.
Report Name
Enter the name of the report to be listed under the respective module and window.
Jaspersoft Uploaded
The Jaspersoft Uploaded icon indicates if a report has been uploaded or not.
Jaspersoft Uploaded ![]() icon - When the Jaspersoft Uploaded icon is red, this indicates that a report has not yet been uploaded.
icon - When the Jaspersoft Uploaded icon is red, this indicates that a report has not yet been uploaded.
Jaspersoft Uploaded ![]() icon - When the Jaspersoft Uploaded icon is green, this indicates that a report has been successfully uploaded.
icon - When the Jaspersoft Uploaded icon is green, this indicates that a report has been successfully uploaded.
Parent Folder Uri
The master folder,represented by unique URL data, of the Jasper Report intended to be uploaded into the system.
Unit
The specific report, represented by unique URL data, being uploaded into the system.
Description
A description of the Jasper Report.
Show On Dashboard checkbox ![]()
Select this checkbox to allow the custom print to appear as a viewable tab in the Dashboard window.
![]()
![]() Note: New Jasper Reports are security controlled via the Security Explorer and will only appear as a viewable Dashboard option when the user has selected the Show on Dashboard checkbox and have been granted security access to the print. For more information regarding Security please see Security Explorer via the System Administration module.
Note: New Jasper Reports are security controlled via the Security Explorer and will only appear as a viewable Dashboard option when the user has selected the Show on Dashboard checkbox and have been granted security access to the print. For more information regarding Security please see Security Explorer via the System Administration module.
Save ![]() button
button
Select the Save ![]() button to save an uploaded report.
button to save an uploaded report.
Upload ![]() button
button
Select the Upload ![]() button to upload a report that was created using Jaspersoft Studio.
button to upload a report that was created using Jaspersoft Studio.
New ![]() button
button
Select the New ![]() button to begin the process for uploading a new report.
button to begin the process for uploading a new report.
Delete ![]() button
button
Select the Delete button to delete a report(s) that has been uploaded and saved in the Upload Custom Print window. Once a report has been deleted, the report will be removed from this window.
_____________________________________________________________________________________
Share
Print
|
©1997-2024 Trax USA Corp. All rights reserved. This manual may not be copied, photocopied, reproduced, translated, or converted to any electronic or machine-readable form, in whole or in part, without prior written approval from Trax USA Corp. |
|