
 Share
Share
 Print
Print
|
|
|
|
|
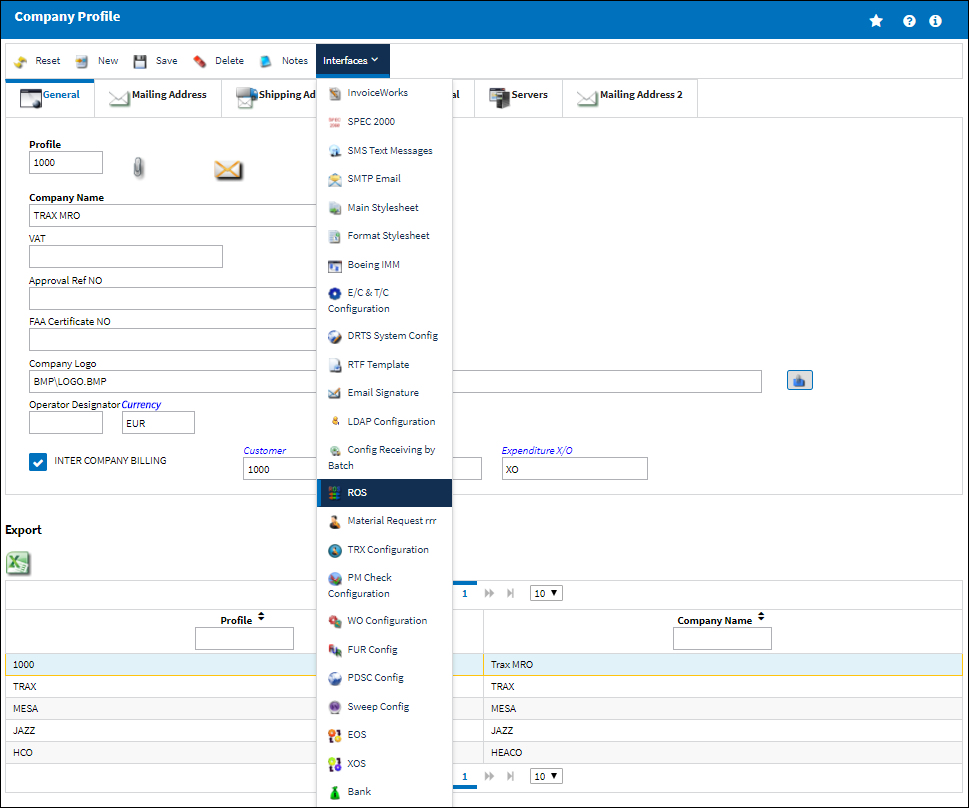
Select the ROS (Repair Order Service) ![]() button to set up eMRO Interface ROS.
button to set up eMRO Interface ROS.
![]() The ROS
The ROS ![]() button is an Interface related functionality. For additional information, refer to your eMRO Interface department.
button is an Interface related functionality. For additional information, refer to your eMRO Interface department.
From the Company Profile window, select the ROS ![]() button.
button.
The system displays the ROS Config File window. Select the ![]() button to populate the following fields with the applicable configuration file.
button to populate the following fields with the applicable configuration file.
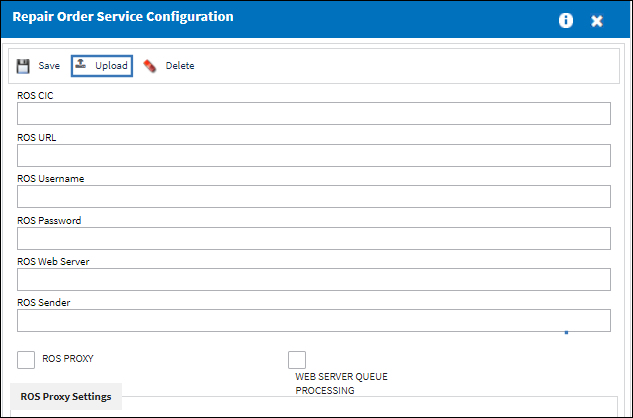
The following information/options are available in this window:
_____________________________________________________________________________________
ROS CIC
This is the customer Identification Code.
ROS URL
This is the address of the website that provides ROS Message Exchange services, for example AeroXchange website or your middleware server.
ROS Username
This is the ROS Username. This is used for authentication/authorization purposes.
ROS Password
This is the ROS Password. This is used for authentication/authorization purposes.
ROS Web Server
This is the URL of the Tomcat server which sends ROS messages out to vendors.
ROS Sender
This is the Identifier for the eMRO system to other ROS systems.
ROS Proxy checkbox
Select this checkbox to display proxy configuration.
Queue Messaging checkbox
If selected, Spec2000 messages will be sent to ROS message queues.
Web Server Queue Processing checkbox
If selected, the message queues will be processed by eMRO Interface and deployed through the Tomcat webserver.
ROS Proxy Host
This is the IP/hostname for the Proxy Server.
ROS Proxy Port
This is the Port number on the Proxy Server.
ROS Proxy User
This is the Username for authentication to the Proxy Server.
ROS Proxy Password
This is the Password for authentication to the Proxy Server.
_____________________________________________________________________________________
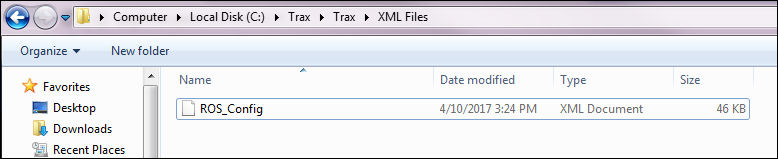
Now Upload the configuration by selecting the ![]() Button.
Button.

The Select XML File pop up appears. Select an XML file and then 'Open'.
Select the Save ![]() button.
button.
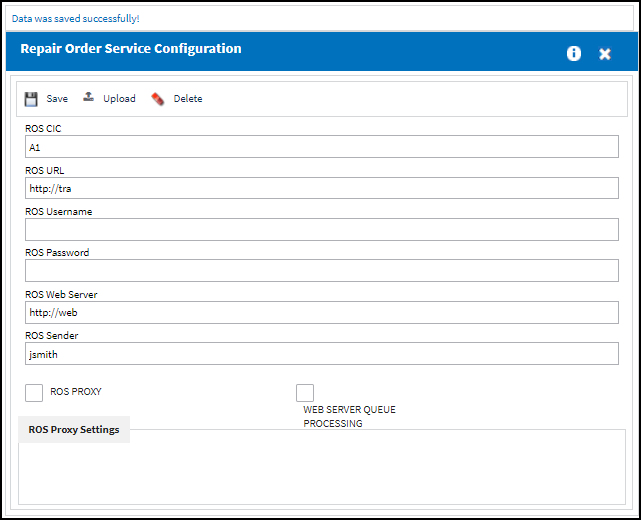
The ROS tab is now visible in the Vendor Master.
For additional information, refer to the Vendor Master, ROS Tab, via Vendor Master which can be found in the Settings Training Manual.
Share
Print
|
©1997-2024 Trax USA Corp. All rights reserved. This manual may not be copied, photocopied, reproduced, translated, or converted to any electronic or machine-readable form, in whole or in part, without prior written approval from Trax USA Corp. |
|