
 Share
Share
 Print
Print
|
|
|
|
|
There are two methods to transfer items on the system: the One Step Transfer and the Transfer Order. The One Step Transfer is explained here.
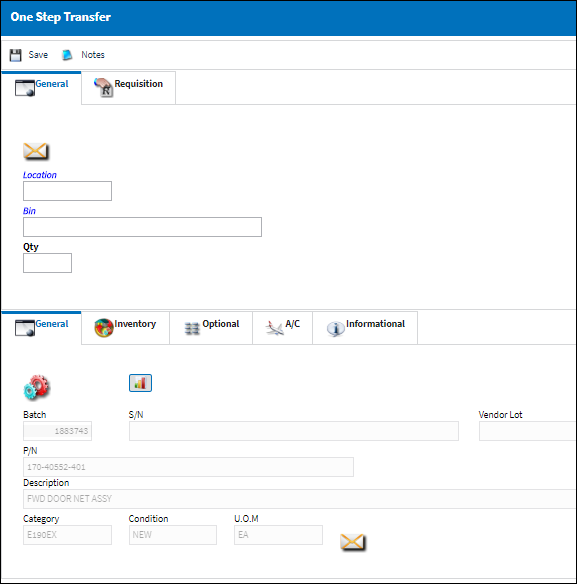
The One Step Transfer ![]() button provides the ability to move the currently selected part immediately from one location to another. The part will be displayed in the new location immediately without the part having to be received.
button provides the ability to move the currently selected part immediately from one location to another. The part will be displayed in the new location immediately without the part having to be received.
Note: The standard process to move parts is to issue a Transfer Order and put the parts through a Receiving process. The One Step transfer options can be used for emergencies (AOGs) or if there is no staff at the receiving location to book a receiving process.
With both transfer options, the system will produce a transfer document, which can be printed if required. The system will allow you to print a new tag for the item; it will also prompt if you require sending the item to the Packing and Shipping module. However, the part will immediately show in stock in the new location.
Note: When Orders Switch ![]() TOPNCTRL is set to Yes, parts with expired P/N Controls or expired P/N Engineering Controls cannot be transfered via One Step Transfer, Transfer Picklist, or Transfer Order. When set to No, parts with expired P/N Controls or expired P/N Engineering Controls can be transfered via One Step Transfer, Transfer Picklist, or Transfer Order. For more information refer to Switch
TOPNCTRL is set to Yes, parts with expired P/N Controls or expired P/N Engineering Controls cannot be transfered via One Step Transfer, Transfer Picklist, or Transfer Order. When set to No, parts with expired P/N Controls or expired P/N Engineering Controls can be transfered via One Step Transfer, Transfer Picklist, or Transfer Order. For more information refer to Switch ![]() TOPNCTRL via the Orders Switches Manual.
TOPNCTRL via the Orders Switches Manual.
The following information/options are available in this window:
_____________________________________________________________________________________
Location
The Location for maintenance events, inventory stores, orders, transactions, or training events.
Bin
The specific storage bin within the inventory location.
QTY
The quantity that will be transferred. Decimal quantities are allowed here (e.g., centimeters).
U/S Code
Unserviceable Code that applies to the part, to be stored in a quarantine location. This field is only available upon selecting a Location that has been designated as Quarantine in the Location Master, General tab.
Condition
The condition of the part being transfered.
_____________________________________________________________________________________
Note: The wall password can be enabled here.
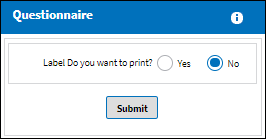
The system will allow the user to print a new label for the item.
The system will produce the transfer document, which can be printed if required.
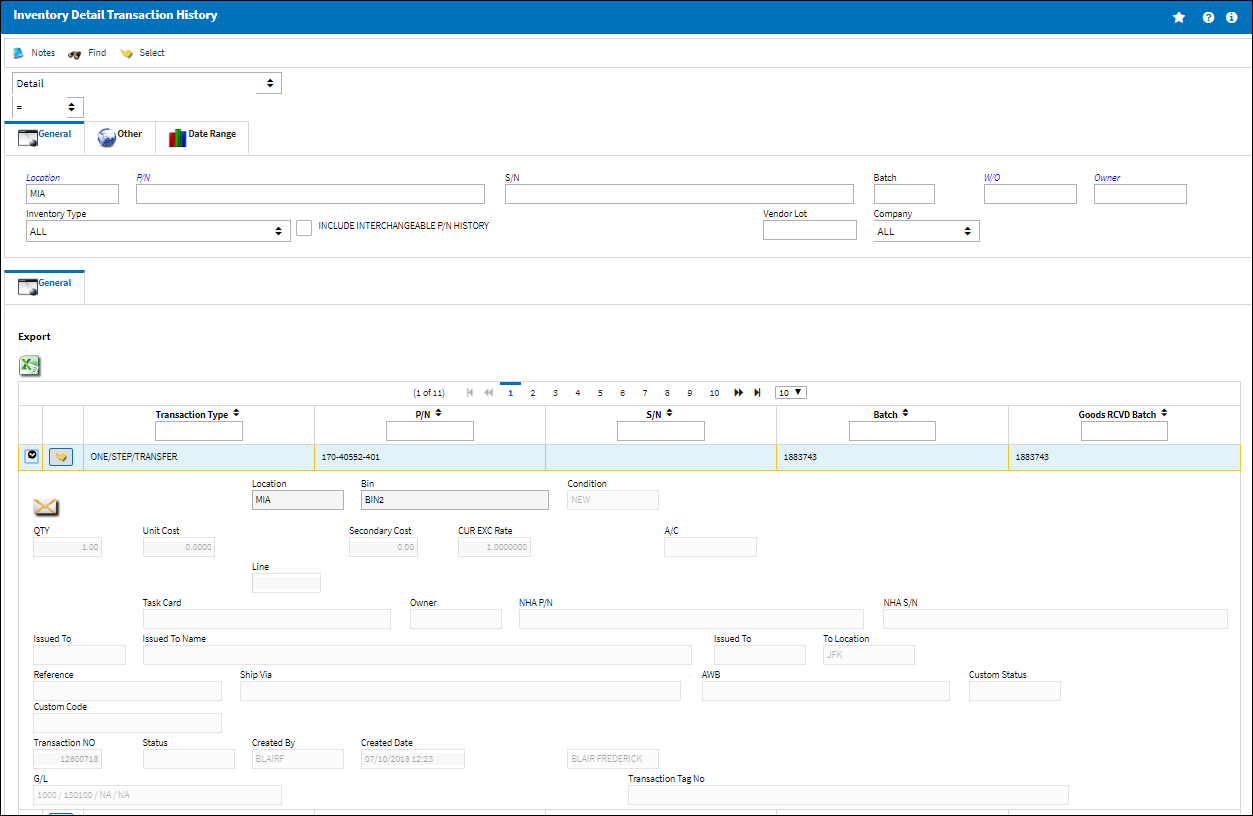
The transaction is recorded in the Inventory Detail, Transaction History tab.
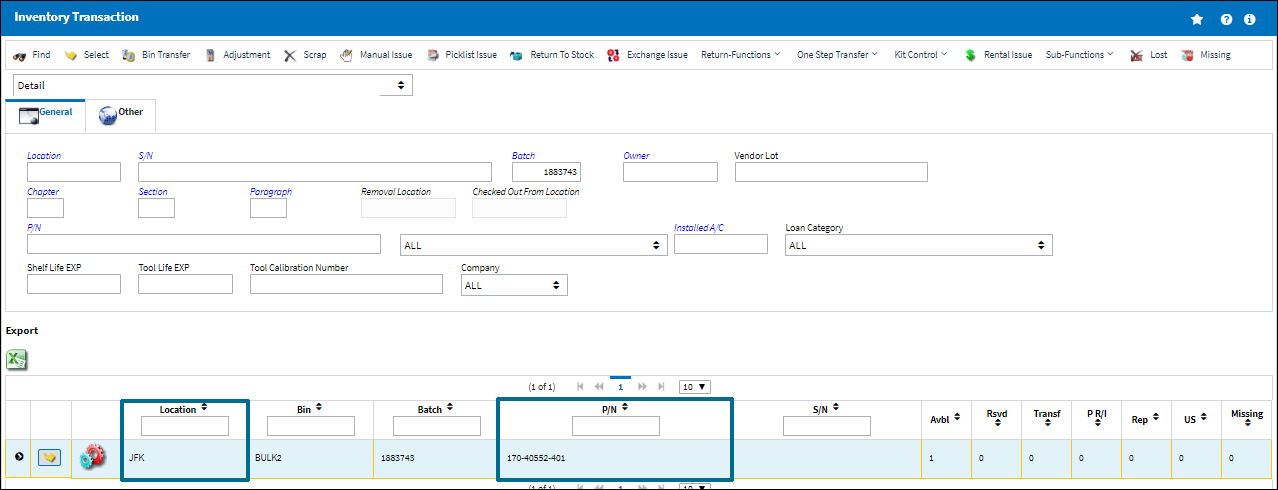
The parts are immediately displayed in the new location without having to be received:
Additional information can be entered or viewed through the One Step Transfer, Requisition tab and Notes ![]() button.
button.
Share
Print
|
©1997-2024 Trax USA Corp. All rights reserved. This manual may not be copied, photocopied, reproduced, translated, or converted to any electronic or machine-readable form, in whole or in part, without prior written approval from Trax USA Corp. |
|