
 Share
Share
 Print
Print
|
|
|
|
|
The Bin Transfer ![]() button is used to move items between bins within the same location. Once an item has been received into the system, there may be a need to move the item to another bin within the location. The Bin is assigned at Receiving and may be pre-defined by part number/location combination in the P/N Master.
button is used to move items between bins within the same location. Once an item has been received into the system, there may be a need to move the item to another bin within the location. The Bin is assigned at Receiving and may be pre-defined by part number/location combination in the P/N Master.
Select the item required for transfer. Click on the Bin ![]() button.
button.
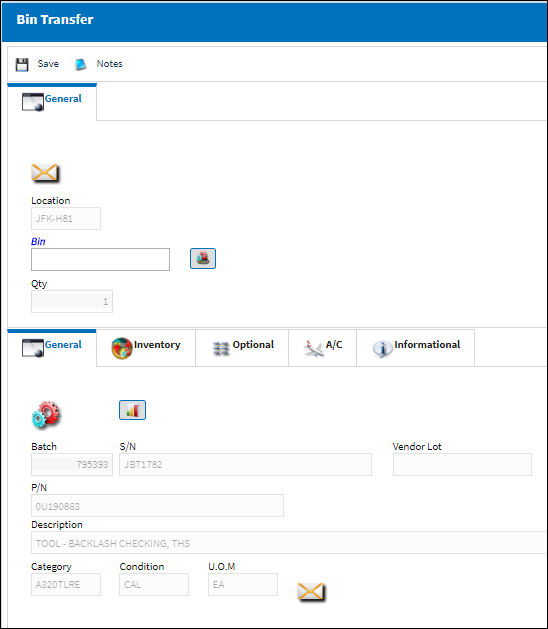
The following information/options are available in this window:
_____________________________________________________________________________________
Location
The Location for maintenance events, inventory stores, orders, transactions, or training events.
Bin
The specific storage bin within the inventory location. A pop-up selection window showing the locations may be retrieved with a right mouse-click.
Note: Inventory Switch ![]() GREYOUTBINPREF: When set to Yes and the P/N has been set up with preferred bin locations, then the Bin field will be automatically greyed out from the following windows:P/N Initial Load, Bin Transfer, Order Receiving, Return To Stock. When set to No, the Bin field will be available regardless of prior preferred bin locations set up for the P/N.
GREYOUTBINPREF: When set to Yes and the P/N has been set up with preferred bin locations, then the Bin field will be automatically greyed out from the following windows:P/N Initial Load, Bin Transfer, Order Receiving, Return To Stock. When set to No, the Bin field will be available regardless of prior preferred bin locations set up for the P/N.
Default Bin Button
Selecting this button will populate the default bin set-up in the Part Number Master for the chosen part.
Standard Bin
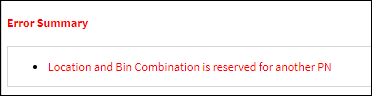
This field indicates the Location Bin designated for the selected P/N. Parts will have a designated Bin for certain Locations when the 'Reserved to this P/N' checkbox is selected via the P/N Bin Location Control Button. Transferring the part to this Bin is optional. However, parts that are not designated for this Location/Bin cannot be transfered to this Bin. If a user attempts to transfer a part to this reserved Location/Bin that has not been designated to this Location/Bin, the following warning will appear:
If the 'Reserved to this P/N' checkbox via the P/N Bin Location Control Button is not selected, the Standard Bin text will not appear in this window. For more information refer to the Bin Control Button via the Settings Training Manual.
Qty
The quantity of parts to be transferred. For rotables, this field is auto-populated with the number 1, since rotables are serialized and will always show up individually in the Inventory Transaction screen. For consumables, this field will be open for editing if more than one part is to be moved to the selected bin.
_____________________________________________________________________________________
After saving, the system transfers the part to the new bin. The user can optionally print a new part identification tag.
Additional information can be included through the Notes ![]() button.
button.
Share
Print
|
©1997-2024 Trax USA Corp. All rights reserved. This manual may not be copied, photocopied, reproduced, translated, or converted to any electronic or machine-readable form, in whole or in part, without prior written approval from Trax USA Corp. |
|