
 Share
Share
 Print
Print
|
|
|
|
|

Oftentimes, OEMs and/or operators need to make minor changes to a manual in between official revisions. In this case, they will issue a Temporary Revision (TR). The Load TR Files ![]() button is used to load a Temporary Revision file in to a TraxDoc.
button is used to load a Temporary Revision file in to a TraxDoc.
Overview of TraxDoc Revision process:
- Select the Load TR Files button to upload the Temporary Revision.
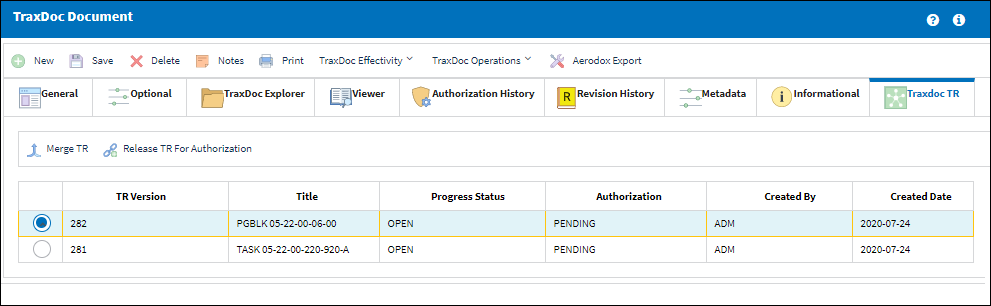
- Merge and release the TR for authorization via the TraxDoc TR tab.
- Accept the TR authorization via the TraxDoc TR Authorization window.
- Import the revised Task Cards into the Engineering module by selecting the Generate/Update Data button. For more information, refer to Load an AMM through TraxDoc.
From the TraxDoc Explorer tab, select the Load TR Files ![]() button.
button.
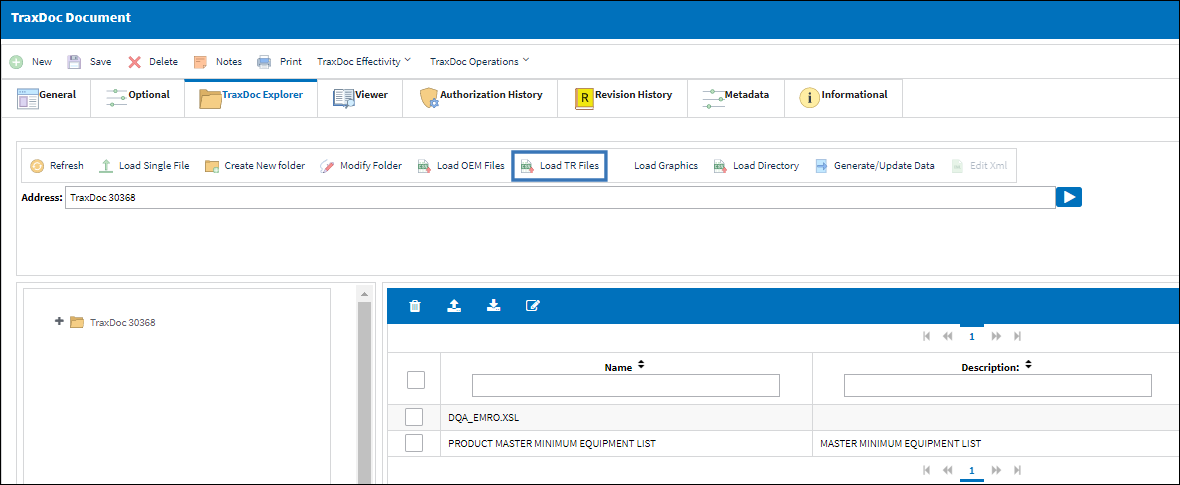
Note: The Temporary Revision functionality in this window is only available for Aircraft Maintenance Manuals (AMMs).
Note: When uploading a document into TraxDoc, the file that is being uploaded must be in a location where the eMRO server will recognize it. See below instructions:
- The IT department on user side must select a directory to work as a repository for all the OEM manuals that would be uploaded to eMRO via the TraxDoc module.
- This directory must be accessible from the application server (Wildfly).
- Create a way for users to provide the OEM manual revisions to be placed in the repository.
- The path for the repository directory will be defined by the traxdoc_manual variable on the data.source.properties file. This can be found under the application server (/%WILDFLYHOME%/deployments/emro.war/WEB-INF/classes/resources/).
SaaS customers should refer to the instructions outlined in this document in iCentral: SaaS - How to Upload TraxDoc Manuals.
The system displays the TraxDoc SGML Load window. Populate the SGML Instance file by selecting the Add Files ![]() button.
button.
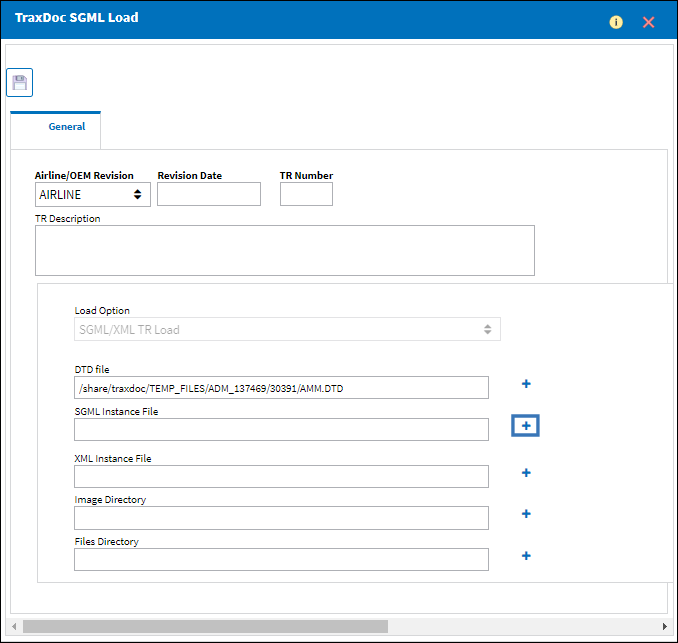
The following root directory or repository will become available to select the SGML Instance file. Navigate to the desired file and select it.
Note: Once the SGML Instance File is populated, the DTD field auto populates from the same folder.
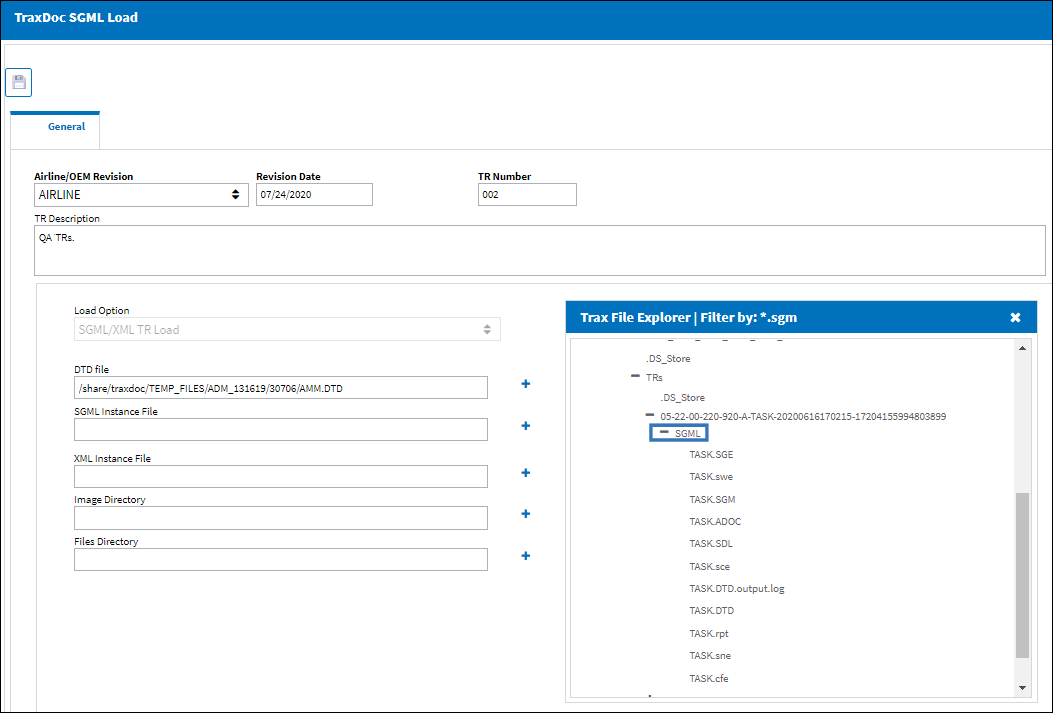
![]() Note: The TraxDoc files displayed in the SGML Load window are sorted alphabetically.
Note: The TraxDoc files displayed in the SGML Load window are sorted alphabetically.
Select the Save ![]() button to load the TraxDoc TR.
button to load the TraxDoc TR.
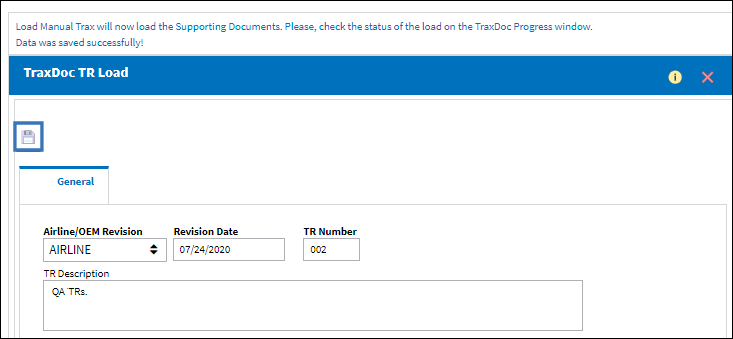
The progress of the TR being loaded can be tracked through the TraxDoc Progress window.
Once the Temporary Revision has been loaded, it is visible in the TraxDoc TR tab and is available to be merged with the main TraxDoc. For more information, refer to the TraxDoc TR tab.
Share
Print
|
©1997-2024 Trax USA Corp. All rights reserved. This manual may not be copied, photocopied, reproduced, translated, or converted to any electronic or machine-readable form, in whole or in part, without prior written approval from Trax USA Corp. |
|