
 Share
Share
 Print
Print
|
|
|
|
|
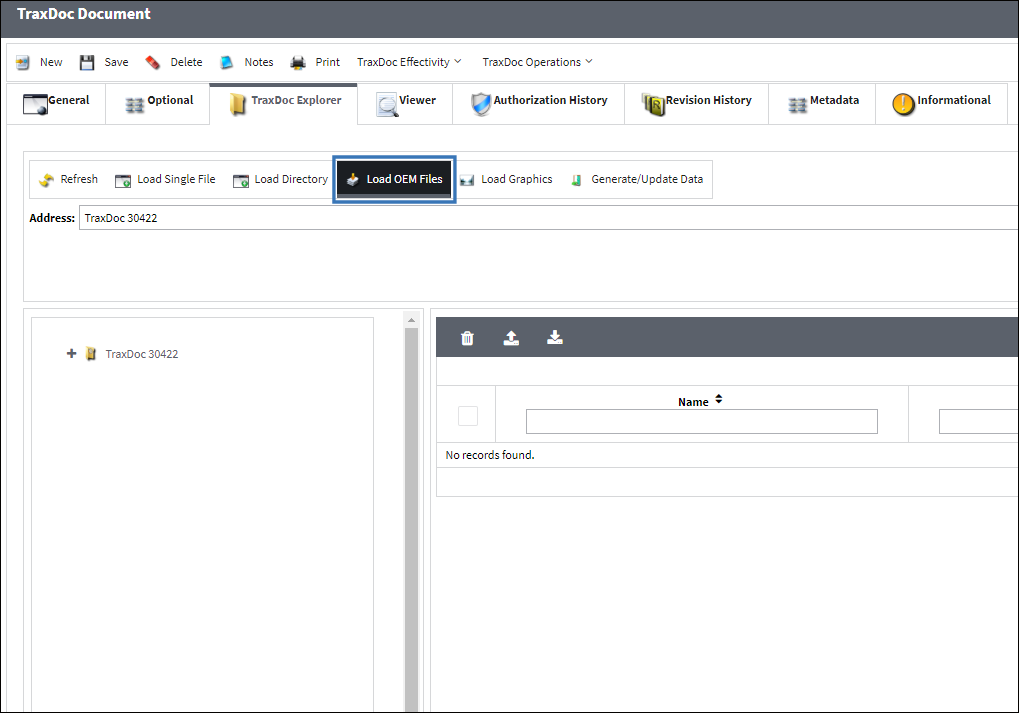
The Load OEM Files ![]() button is used to load an XML file in to a TraxDoc.
button is used to load an XML file in to a TraxDoc.
Note: It is not necessary to convert TIFF and Computer Graphic metafiles (CGM) images to JPEG. users may load TIFF and CGM graphics directly to a TraxDoc and preview these images. The option to preview images in TIFF and CGM format is available system wide.
When uploading a document into TraxDoc, the file that is being uploaded must be in a location where the eMRO server will recognize it. See below instructions:
- The IT department on the user side must select a directory to work as a repository for all the OEM manuals that would be uploaded to eMRO via the TraxDoc module.
- This directory must be accessible from the application server (Wildfly).
- Create a way for users to provide the OEM manual revisions to be placed in the repository.
- The path for the repository directory will be defined by the traxdoc_manual variable on the data.source.properties file. This can be found under the application server (/%WILDFLYHOME%/deployments/emro.war/WEB-INF/classes/resources/).
SaaS customers should refer to the instructions outlined in this document in iCentral: SaaS - How to Upload TraxDoc Manuals.
From the TraxDoc Explorer tab, select the Load OEM Files ![]() button
button
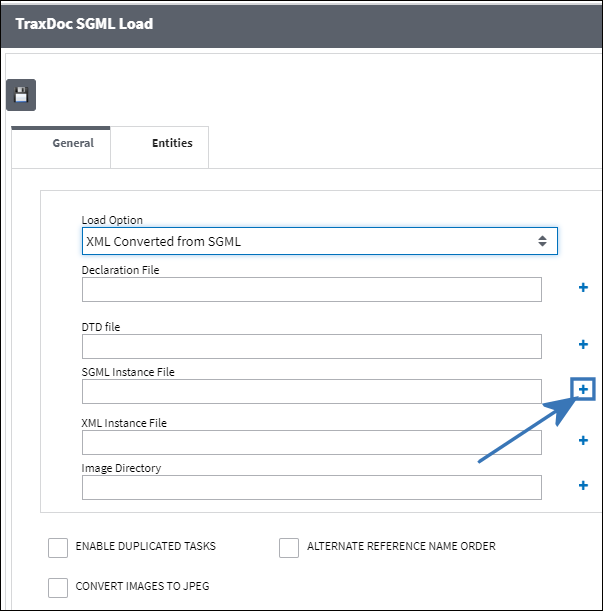
The system displays the TraxDoc SGML Load window. Populate the SGML Instance file by selecting the Add Files ![]() button.
button.
The following root directory or repository will become available to select the SGML Instance file. Navigate to the desired file and select it.
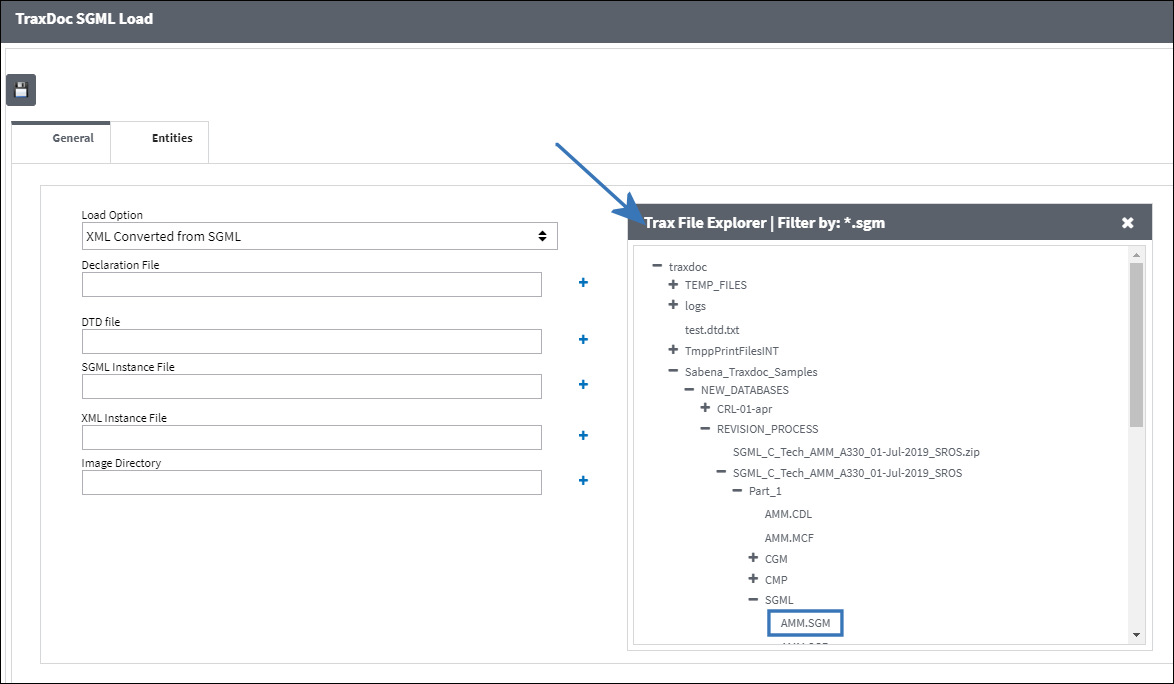
![]() Note: The TraxDoc files displayed in the SGML Load window are sorted alphabetically.
Note: The TraxDoc files displayed in the SGML Load window are sorted alphabetically.
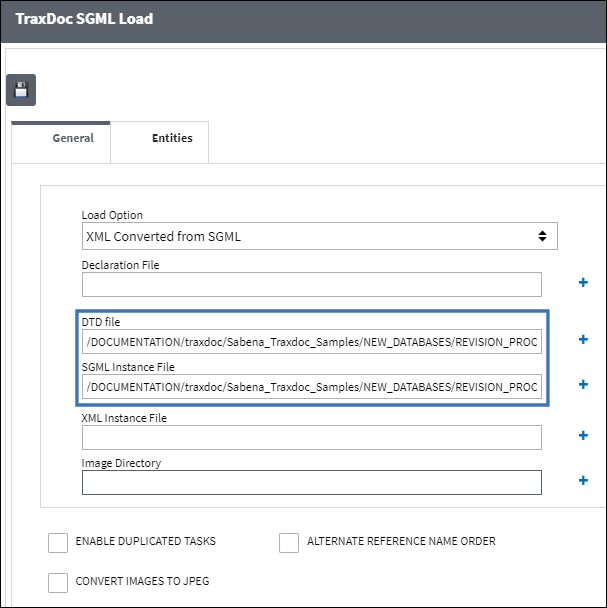
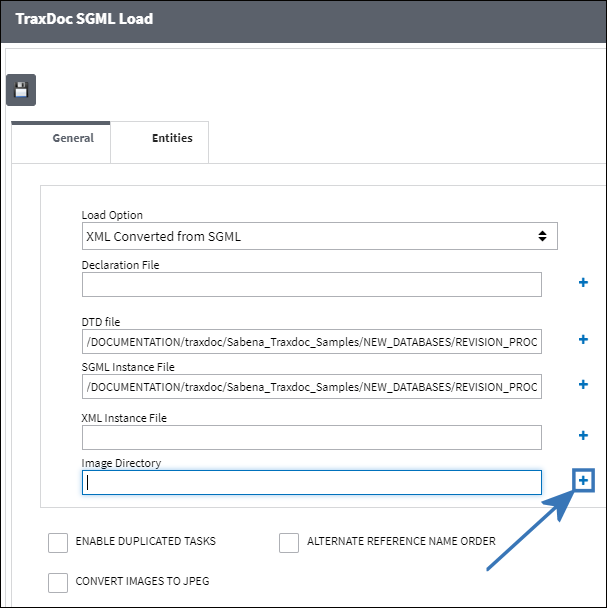
The SGML Instance File is populated and the DTD field auto populates from the same folder. The user may also choose to populate the DTD file first. The SGML Instance file will then auto populate from the same folder.
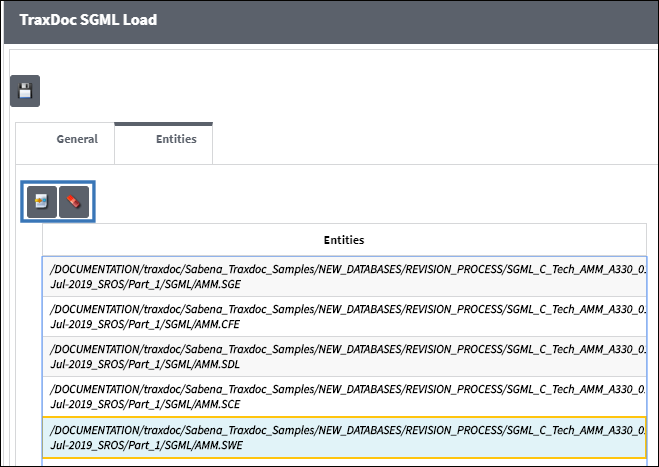
The Entity files have been auto populated.
Designate the Image Directory and Save.
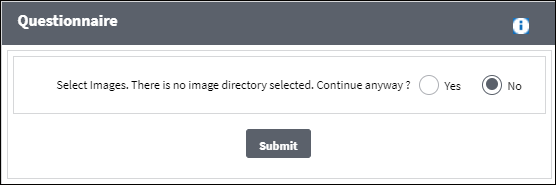
Note: If an image directory was not selected, the system will display the user with following message. Select 'No' and return to the TraxDoc XML Load window to populate an Image Directory
A pop up will appear informing the user that the system will begin loading all supporting documents.
The user may go to TraxDoc Progress to view the progress of the load.

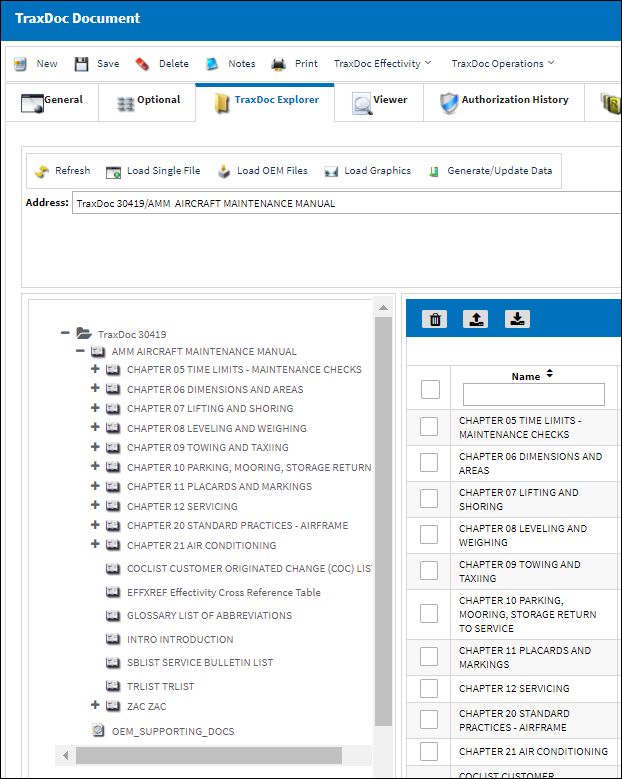
All files are loaded as shown below. Select OEM_SUPPORTING_DOCS.
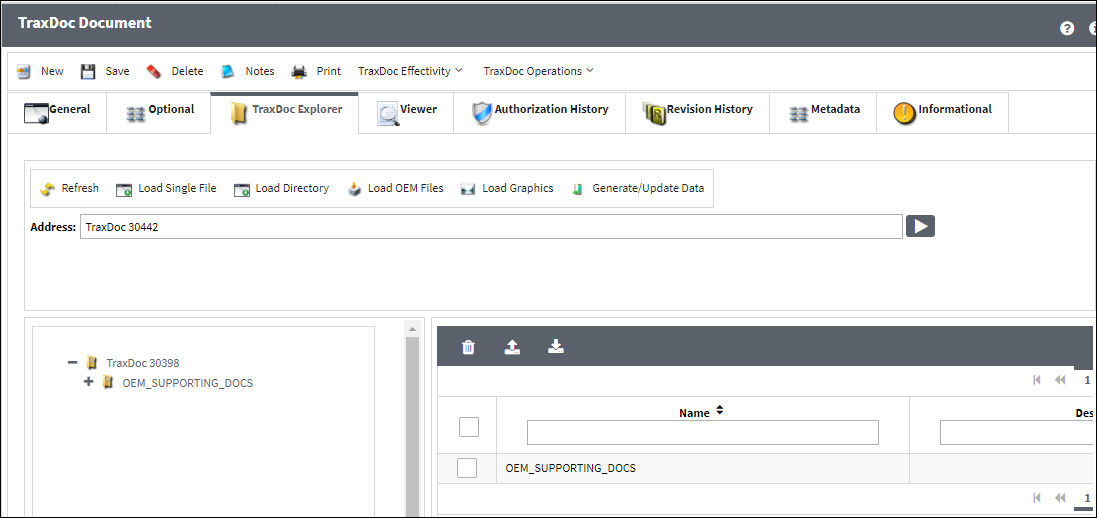
All of the OEM supporting documents are shown below.
Share
Print
|
©1997-2024 Trax USA Corp. All rights reserved. This manual may not be copied, photocopied, reproduced, translated, or converted to any electronic or machine-readable form, in whole or in part, without prior written approval from Trax USA Corp. |
|