
 Share
Share
 Print
Print
|
|
|
|
|
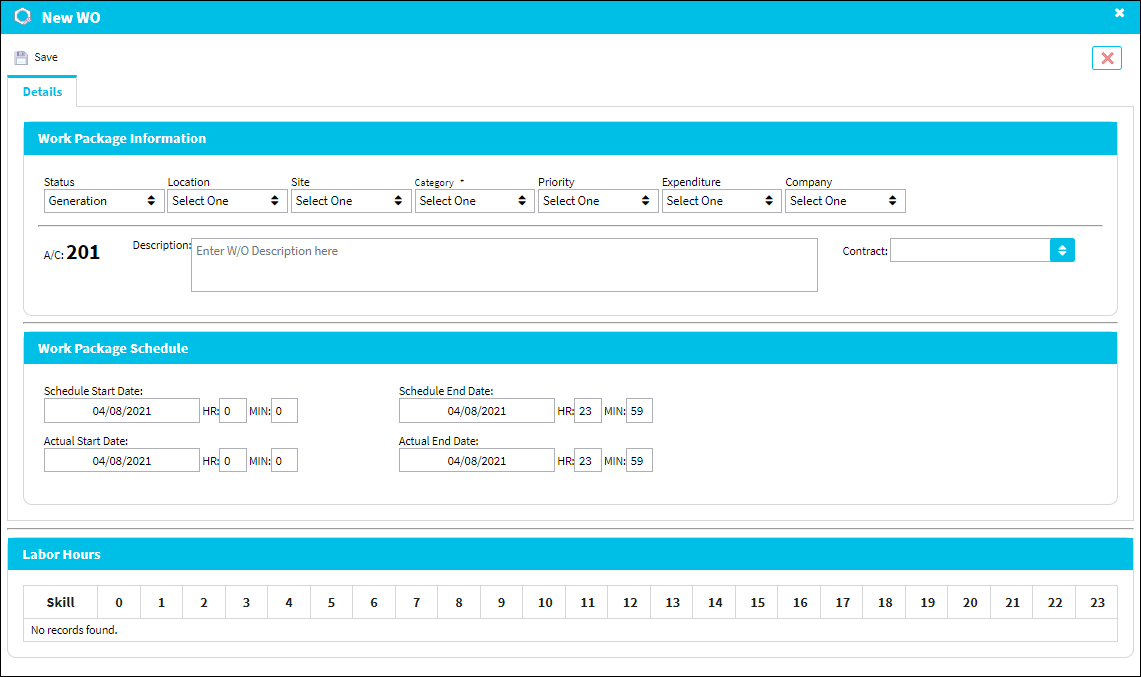
New W/O Button, via Planning Control
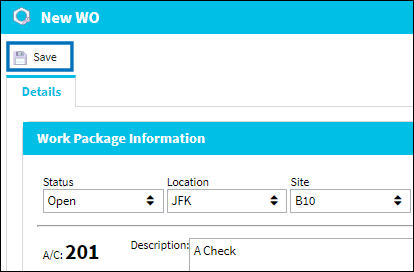
Select the New W/O button to create a new Work Order. When selected, the new W/O window pops up. Enter all necessary information then click the Save ![]() button.
button.
From the New Work Order pop-up window, many of the fields are auto-populated based on the scenario in which the New W/O button was selected.
Select the Save ![]() button to create the W/O.
button to create the W/O.
![]() Note: Users can use the delete
Note: Users can use the delete ![]() button to delete the W/O. This button is security controlled via Security Explorer/Planning Control/Update/W/O Delete.
button to delete the W/O. This button is security controlled via Security Explorer/Planning Control/Update/W/O Delete.
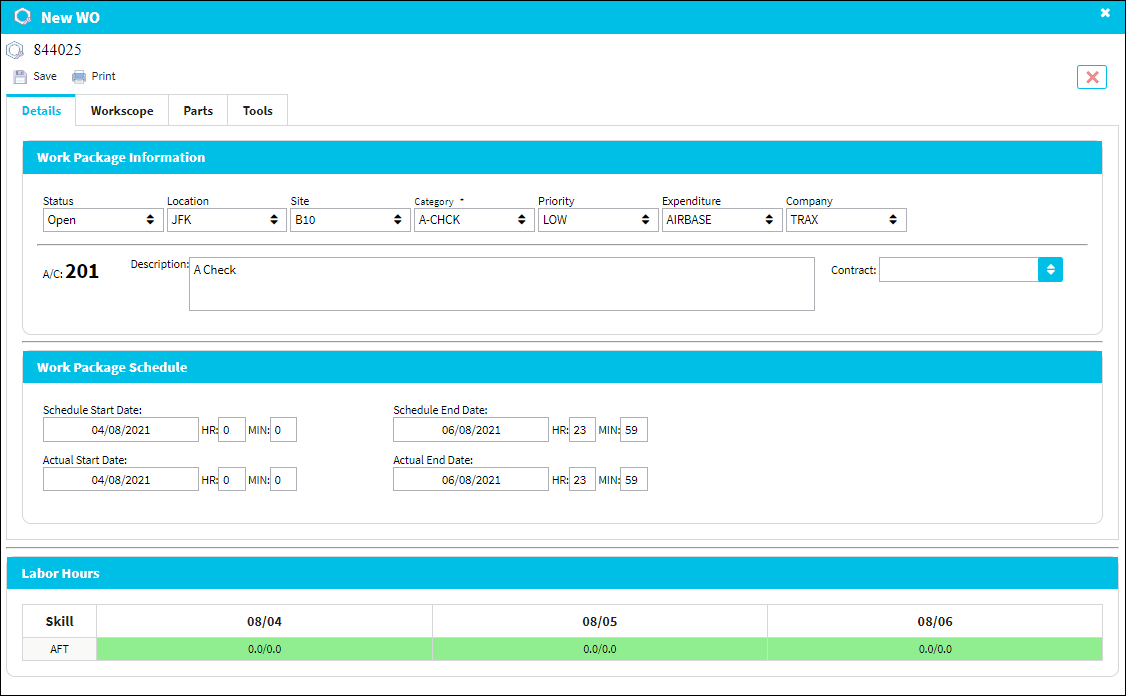
Once the W/O is saved, the Work Order number is listed at the top and following tabs become available:
- Details tab - contains the W/O's general information (such as Location, schedule, etc.)
- Workscope tab - lists all maintenance items assigned to the W/O
- Parts tab - lists all parts required for the W/O and their availability
- Tools tab - lists all tools required for the W/O
- Labor Hours section - contains an overview of the Labor availability for the W/O
- W/O Prints Tab
 - lists all prints associated with the W/O
W/O Details Button ![]()
Additionally, once the W/O is saved, the user has access to the W/O details button.
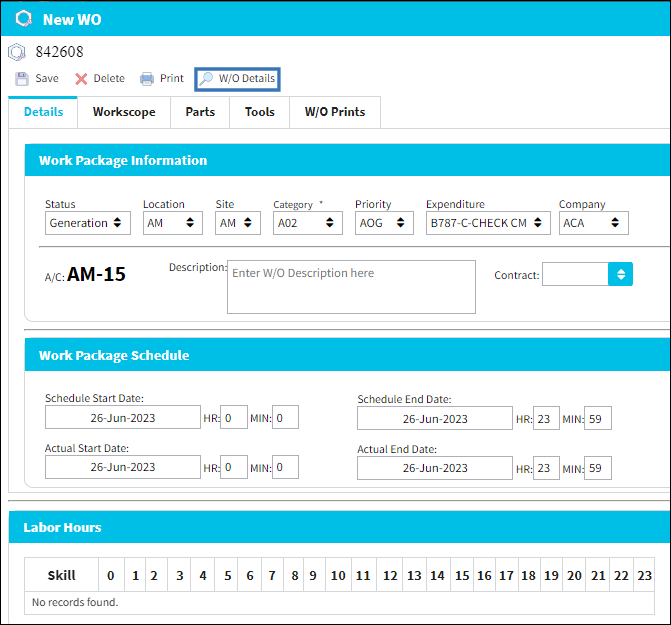
When selected, this button prompts a pop up window that displays a streamlined version of the W/O Management window.

For more information on the tabs displayed in the pop up window, refer to W/O Details Button.
Share
Print
|
©1997-2024 Trax USA Corp. All rights reserved. This manual may not be copied, photocopied, reproduced, translated, or converted to any electronic or machine-readable form, in whole or in part, without prior written approval from Trax USA Corp. |
|