
 Share
Share
 Print
Print
|
|
|
|
|
Select the Requisition ![]() button to create a Part Requisition or attach an existing one to the Defect Report.
button to create a Part Requisition or attach an existing one to the Defect Report.
The system displays the Requisition pop-up window.

The selected Requisitions are placed in the bottom of the pop-up window so that the user can view more information.
Users can de-select the Requisition by selecting the Requisition De-Link ![]() button.
button.
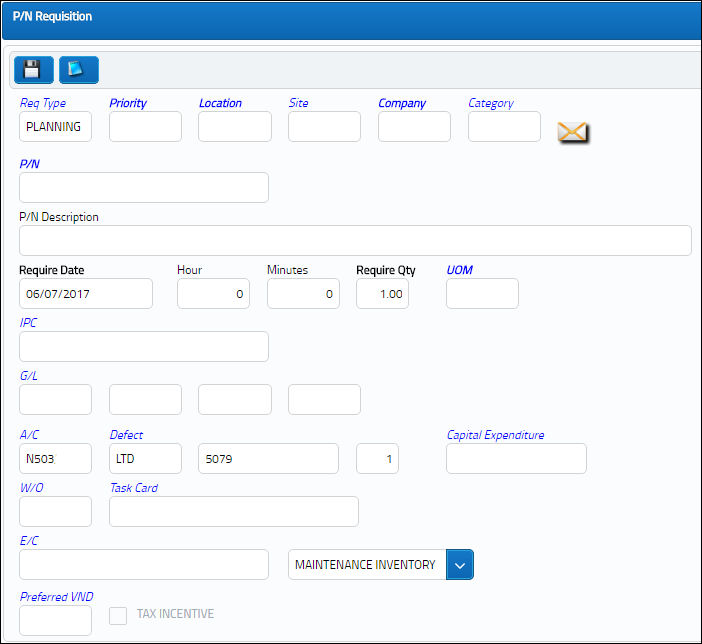
In the right hand corner of this pop-up window, select the New ![]() button and the system displays the following window where Requisition information may be entered:
button and the system displays the following window where Requisition information may be entered:
Note: Additional information relevant to the record can be included through the Notes ![]() button.
button.
Refer to the Requisition Manual for more information.
Note: The Requisitions tab appears in the Defect Report Detail window once a Requisition is attached.
Share
Print
|
©1997-2024 Trax USA Corp. All rights reserved. This manual may not be copied, photocopied, reproduced, translated, or converted to any electronic or machine-readable form, in whole or in part, without prior written approval from Trax USA Corp. |
|