
 Share
Share

 Print
Print
3D Object Tab, via Dent Mapping

The 3D Object tab displays 3D images that the user can zoom in/out and rotate for a 360° view.
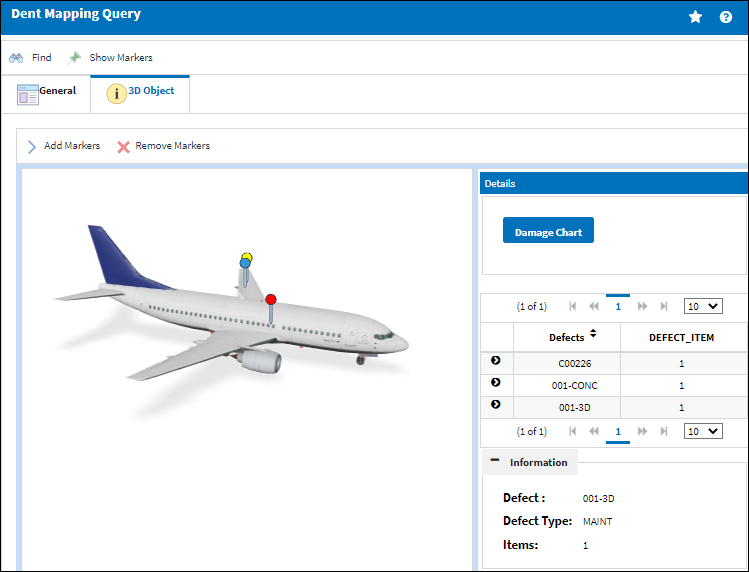
Note: A form record must be created and the image uploaded prior to the use of the Dent Mapping window. For additional information, refer to the Intelli Form Button, via Aircraft Type/Series.
Note: Once the user enters search criteria in the Query area and selects the Find ![]() button, if a 3D image is available a warning message appears directing the user to select the 3D Option tab.
button, if a 3D image is available a warning message appears directing the user to select the 3D Option tab.![]()
View dent marker defect details
Select on a dent marker and its associated defect details appear under the Information section in the Details area.
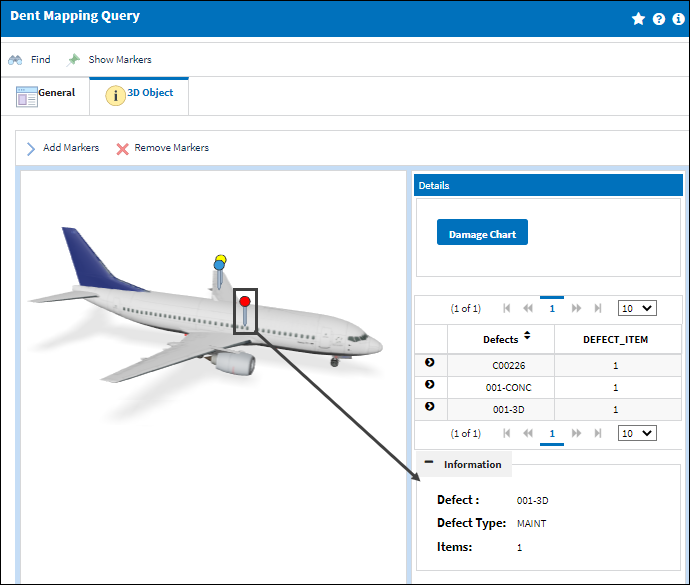
The following dent mark indicators are displayed in the window:
_____________________________________________________________________________________
Red Dent ![]() Marker
Marker
When a dent marker appears in red, this indicates that a dent has been associated to the form.
Blue Dent ![]() Marker
Marker
When a dent marker appears in blue, this indicates that there is an existing Damage Report associated to the dent.
Yellow Dent ![]() Marker
Marker
When a dent marker appears in yellow, this indicates that a specific dent has been selected.
_____________________________________________________________________________________
Add a new dent marking
To create a new dent marking, select and highlight the defect from the Details area.
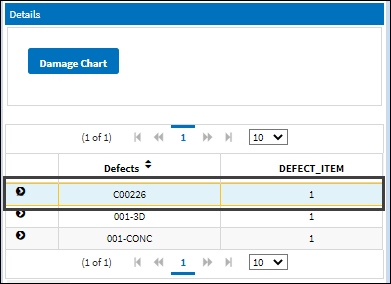
With the defect highlighted, manipulate the 3D image and find the area that the marker needs to be placed. Select the Add Markers ![]() button and then click on the area of the image that the marker should be placed.
button and then click on the area of the image that the marker should be placed.
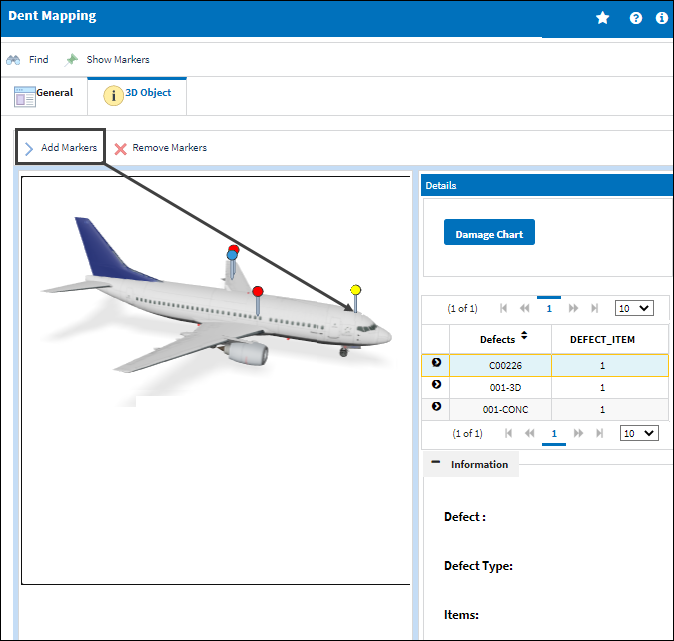
With the marker selected (yellow), select the Damage Chart button to enter the dent details. For more information, refer to Damage Chart ,via Dent Mapping.
Remove Markers
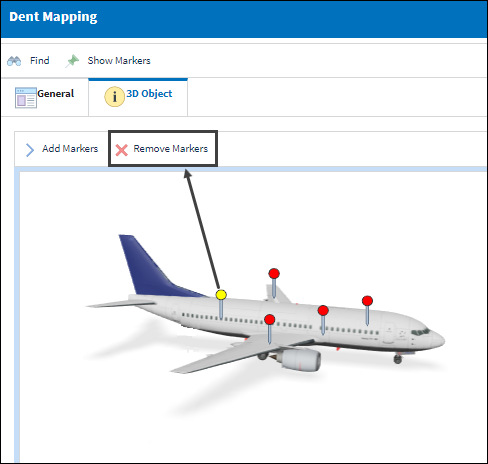
To remove a marker, select it so the marker turns yellow, and then select the Remove Markers ![]() button.
button.
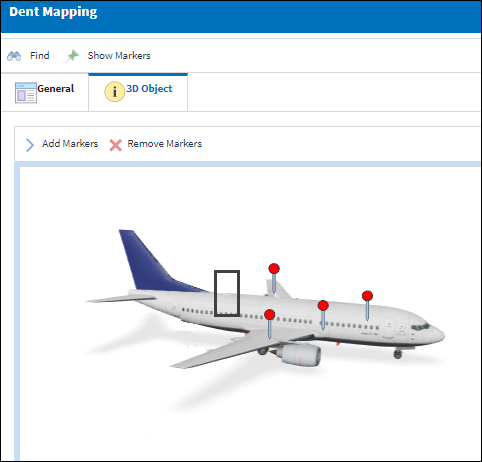
The dent marker is removed from the image.

 Share
Share

 Print
Print