
 Share
Share
 Print
Print
|
|
|
|
|
The Tool Swap ![]() button via Inventory/Update/Inventory Transactions/Tools Check-In button allows users to issue the listed tools to different Employees or Work Orders. Users can use the available search fields to narrow down the results.
button via Inventory/Update/Inventory Transactions/Tools Check-In button allows users to issue the listed tools to different Employees or Work Orders. Users can use the available search fields to narrow down the results.
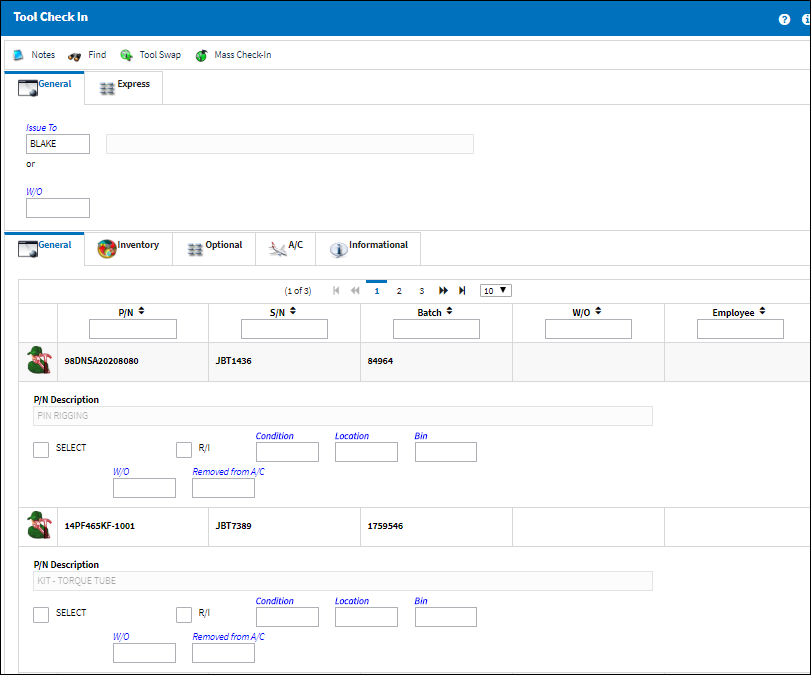
In order to perform the tool swap functionality, the desired tools must first be selected. To do so, flag the Select checkboxes to the right of the tools.
Select the Tool Swap ![]() button when all required tools have been selected. If necessary, enter the Wall Password to proceed.
button when all required tools have been selected. If necessary, enter the Wall Password to proceed.
The Tool Swap window will appear. Enter the new Employee and W/O for the Tool to be swapped to then select the Save button.
After saving, the Tool Swap window will reappear for each other selected tool. The same process described above will be required for each individual tool. This is done in order to differentiate the Employee or Work Order for each tool.
If all of the selected tools are being issued to the same Employee and Work Order, users can select the Swap All checkbox via the Tool Swap window.
When selected, the To fields will appear without the From fields. Enter the To Employee and Work Order then select the Save ![]() button.
button.
When complete, the swapped out tools will be removed from the Tool Check-In window.
Share
Print
|
©1997-2024 Trax USA Corp. All rights reserved. This manual may not be copied, photocopied, reproduced, translated, or converted to any electronic or machine-readable form, in whole or in part, without prior written approval from Trax USA Corp. |
|