
 Share
Share
 Print
Print
|
|
|
|
|

Through the Import W/O Task Card button, Customer T/Cs will be created in the system and linked to Engineering Task Cards for that third party Work Order. This functionality will also import PDF files of the customer's Task Card, which will then be viewable in eMRO (and all related eMobility apps, such as Production Control and TaskControl). Through TaskControl, mechanics and inspectors can add completion stamps directly onto the PDF. The stamps are then visible on the PDF for other users in TaskControl, as well as in Production Control and in eMRO.
Prerequisites
Prior to the importing of the customer PDFs, the following steps must be performed:
- Select the TPW checkbox for the Work Order.
- Link the Task Cards from the Engineering level to the Work Order.
- The excel file and all customer PDF files being linked to a Task Card record need to be uploaded to the eMRO server under the 'TC_IMPORT' folder. This folder is location under the TraxDoc import folder, which is mapped in the 'data.source.properties' file.
Import Steps
The import and customer T/C creation takes place as follows:
- Select the Import W/O Task Card button, then the Select file to Import Customer TC button.
- Choose the import file and Save.
- Customer T/Cs are created and linked to the W/O T/C automatically.
- Customer PDFs can be viewed from linked W/O T/C.
- The link between the Customer T/C and the W/O T/C can be edited manually, as needed.
The above prerequisites and import steps will be detailed below.
Example: Customer T/C Import
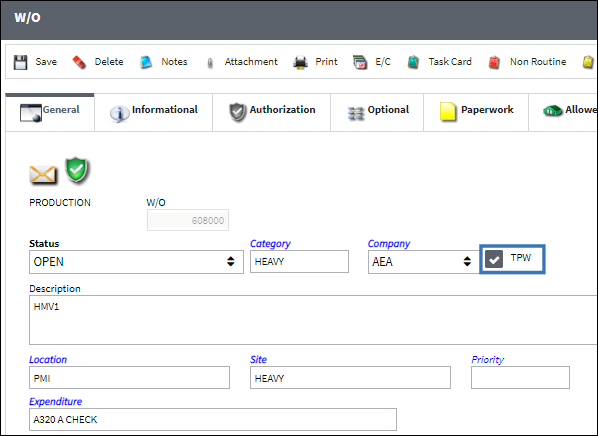
Create the Work Order and select the TPW checkbox in the General tab.
Select the Task Card ![]() button then link the required Task Cards from the Engineering level to the Work Order.
button then link the required Task Cards from the Engineering level to the Work Order.
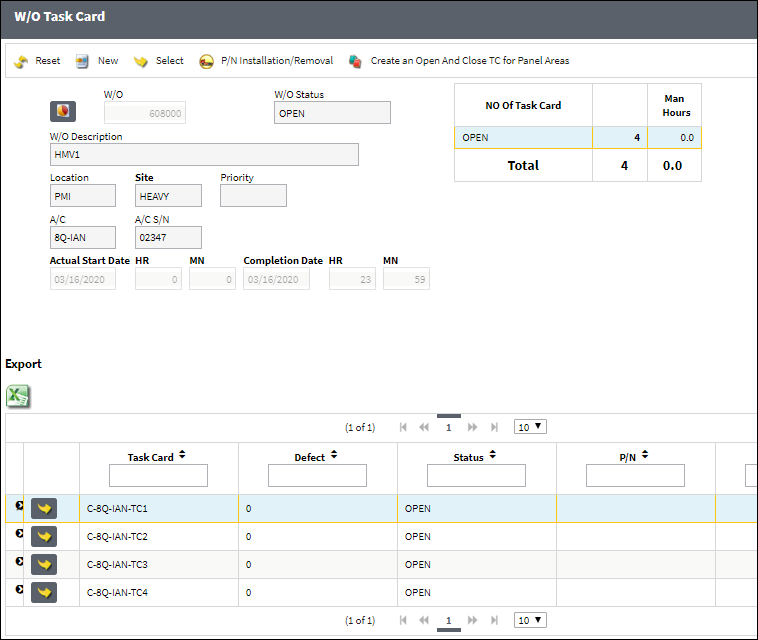
Note: These are the Task Cards that will be linked to the customer T/Cs and their PDFs. These T/Cs will contain all task details, such as Items, Phases, Schedule Dates, Materials, Panels, etc.
From the W/O, Optional tab, select the Import W/O Task Card ![]() button.
button.

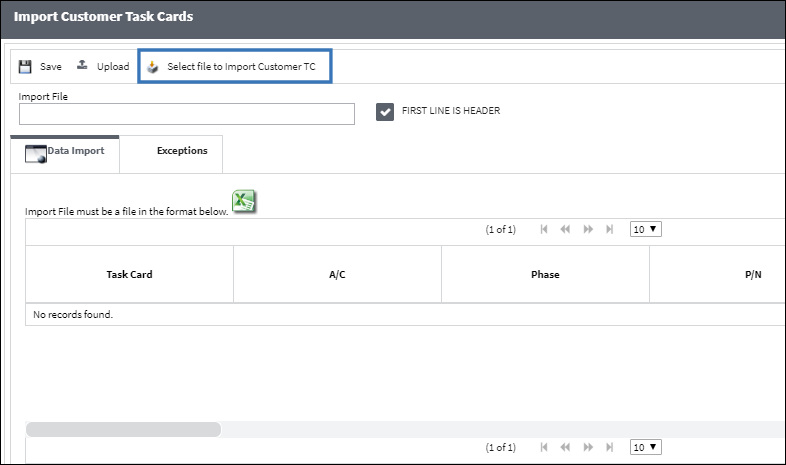
From the Import WO Task Cards window, select the Select file to Import Customer TC ![]() button.
button.
Expand the 'TC_IMPORT' folder. The excel file being used to create the Customer Task Cards, as well as the related PDFs, must be uploaded to this folder in the eMRO server.

Note: The excel file and all customer PDF files being linked to a Task Card record need to be uploaded to the eMRO server under the 'TC_IMPORT' folder. This folder is location under the TraxDoc import folder, which is mapped in the 'data.source.properties' file.
Note: A template of the excel file to be uploaded can be downloaded by selecting the Excel ![]() button.
button.
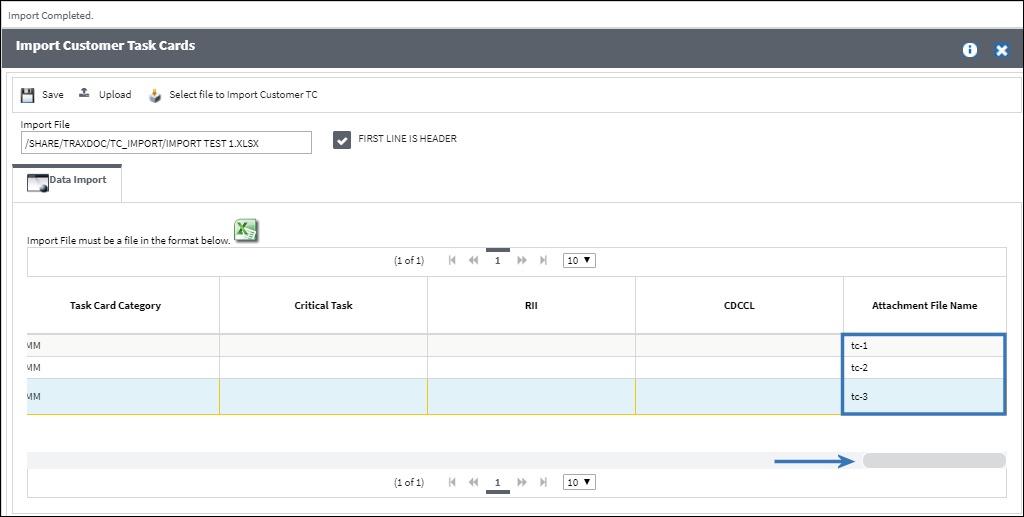
Note: The excel file used for the import contains a column named 'ATTACHMENT' (column AR), which should be populated with file name of the PDF to be linked to the Task Card. Once the file is imported, the PDFs that were uploaded to the eMRO server will be linked to the Customer T/Cs in eMRO. The PDF file name specified in the excel should not contain the file extension (i.e., insert file name 'tc-1', not 'tc-1.pdf').
Additionally, multiple W/O Task Cards can be linked to the same Customer T/C and PDF. To link multiple W/O T/Cs to the same Customer T/C, enter the different W/O T/Cs in the same cell, separated by [ALT]+{ENTER], the specify the same PDF file name in the attachment column for those T/Cs. 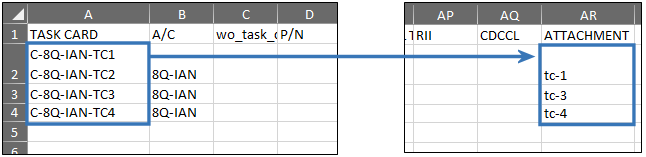
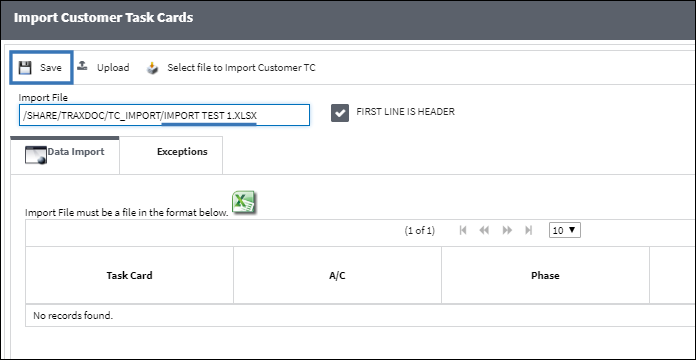
Once the excel file is selected, select the Save ![]() button.
button.
In the pop-up window, each of the W/O T/Cs are listed to the left...
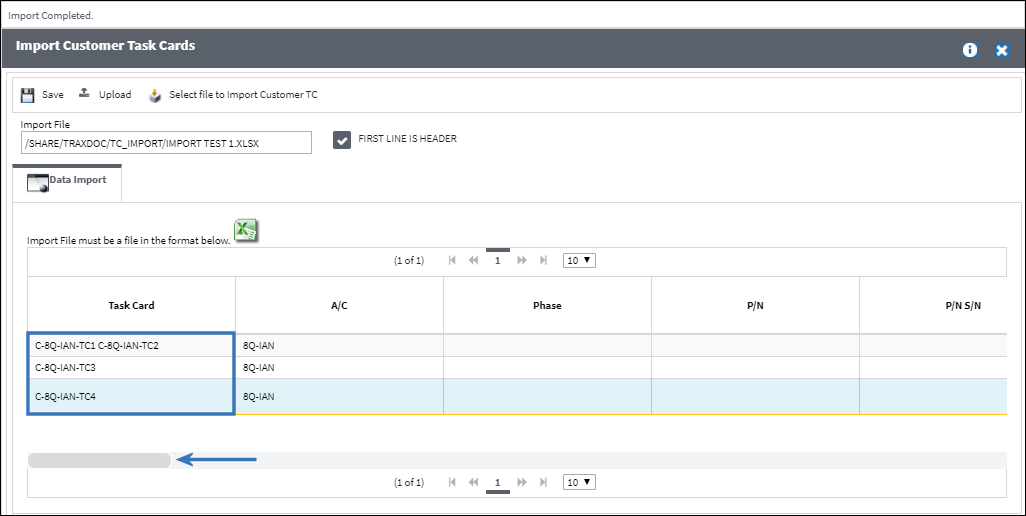
...And the PDF files linked to them are listed to the right.
Note: Any issues that may arise through the import will be displayed in the Exceptions tab.
Example: Customer T/C Management
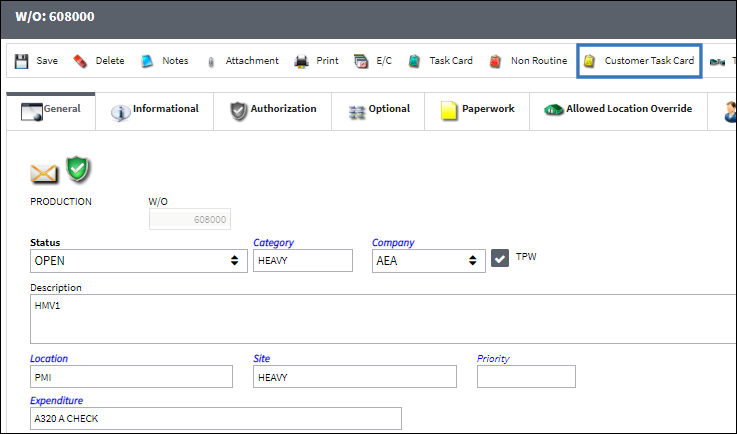
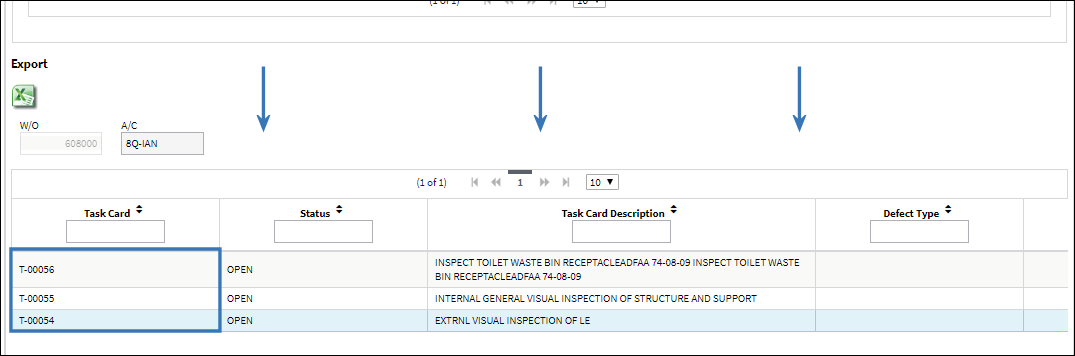
From the W/O detail window, select the Customer Task Card ![]() button to view the newly created customer cards.
button to view the newly created customer cards.
Each Customer T/C is listed in this window. The name for the customer T/C is auto-generated with a prefix followed by a sequential number (e.g., 'T-00054').
Customer T/Cs can also be created manually by selecting the New ![]() button at the top of the window. Likewise, existing Customer T/Cs can be deleted by selecting the Delete
button at the top of the window. Likewise, existing Customer T/Cs can be deleted by selecting the Delete ![]() button.
button.

Note: The prefix and sequential number that make up the Customer Task Cards' names are configured through Production switch ![]() LBTCPRFX. The prefix is entered in the switch's Config Other field, and the sequential number comes from the switch's Config Number field.
LBTCPRFX. The prefix is entered in the switch's Config Other field, and the sequential number comes from the switch's Config Number field.
Scroll down to the bottom of this window to view each of the customer cards.
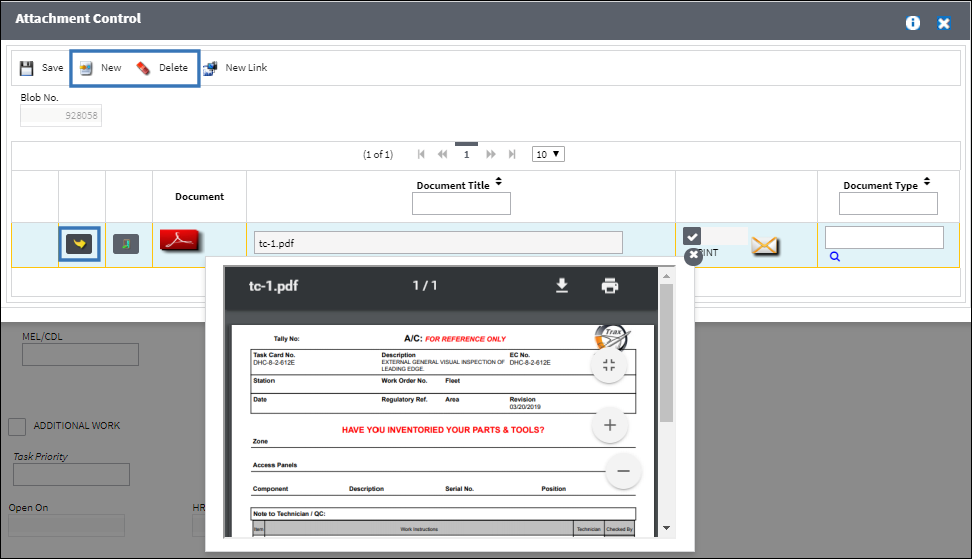
From this window, select the Attachment ![]() button to view the PDFs that were imported.
button to view the PDFs that were imported.

The imported PDF is displayed. Click the Select ![]() button to view the PDF larger.
button to view the PDF larger.
If the PDF needs to be removed and replaced by a different PDF file, select the Delete ![]() button to remove the linked PDF, then the New
button to remove the linked PDF, then the New ![]() button to choose a different PDF file. Select the Save
button to choose a different PDF file. Select the Save ![]() button once the PDFs are changed.
button once the PDFs are changed.
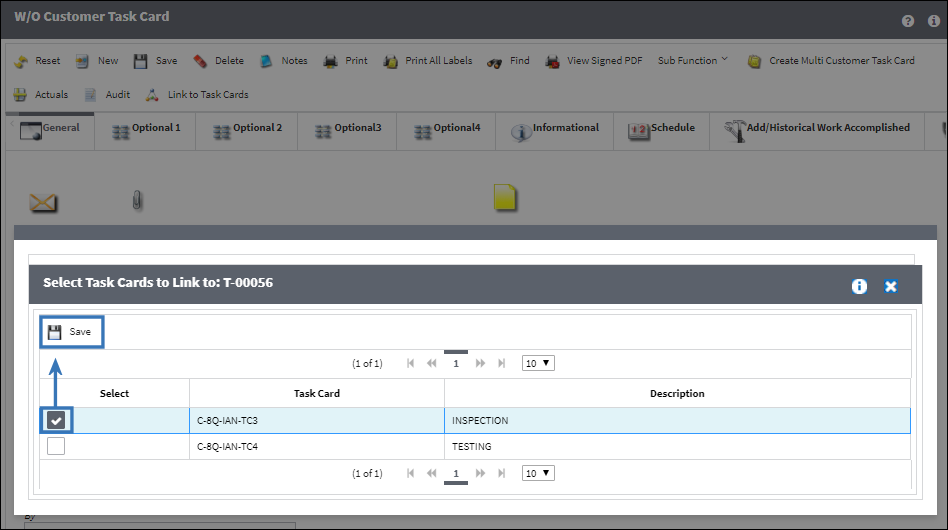
If the Customer T/C was created manually or if the existing card needs to be linked to a different W/O T/C, select the Link to Task Cards ![]() button. Users will be able to choose from W/O T/Cs that are not currently linked to a Customer T/C.
button. Users will be able to choose from W/O T/Cs that are not currently linked to a Customer T/C.

Select the W/O T/C(s) to be linked to the Customer T/C then select the Save ![]() button. One or more W/O T/Cs can be linked to the Customer T/C.
button. One or more W/O T/Cs can be linked to the Customer T/C.
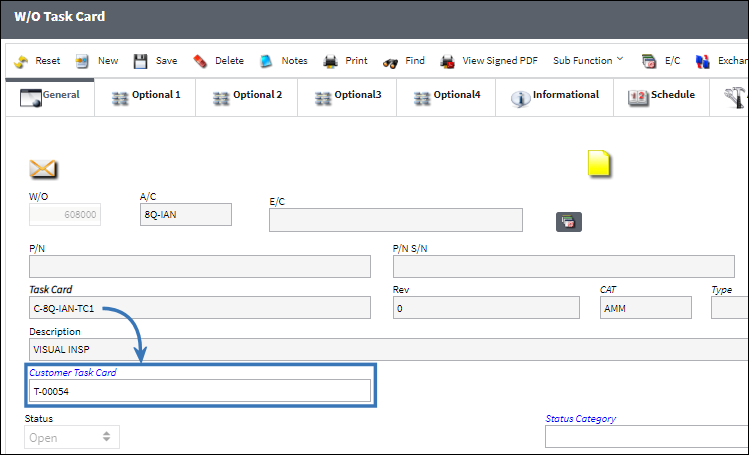
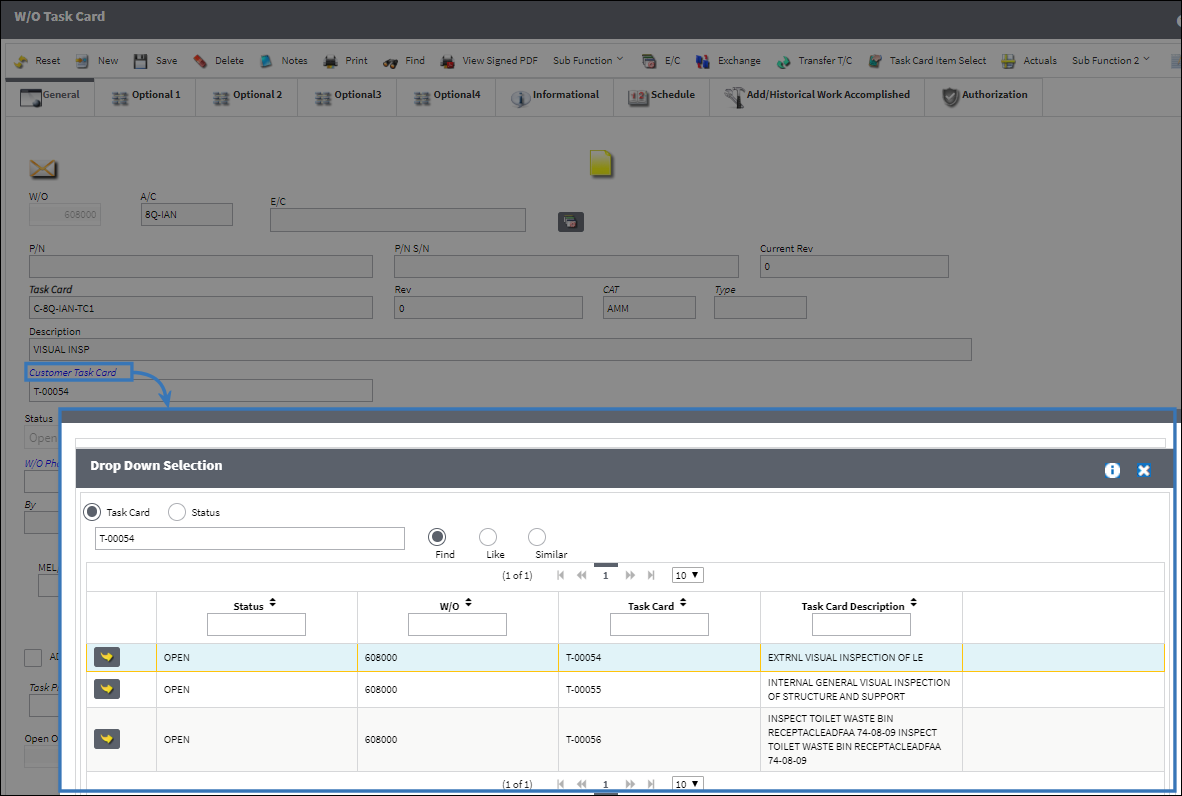
From the W/O detail window, select the Task Card ![]() button. The linked customer card is listed in the Customer Task Card field.
button. The linked customer card is listed in the Customer Task Card field.
Note: To remove the link from the W/O T/C, delete the card listed in the Customer Task Card field then select the Save ![]() button.
button.
If the customer T/C linked to the W/O T/C needs to be changed, select the 'Customer Task Card' hyperlink to choose from all of the customer cards. If the link is updated, select the Save ![]() button.
button.
Multiple W/O T/Cs can be linked to the same Customer T/C. In this example, the following Task Card links were made:
W/O T/C |
Customer T/Cs |
C-8Q-IAN-TC1 C-8Q-IAN-TC2 |
T-00054 |
C-8C-IAN-TC3 |
T-00055 |
C-8Q-IAN-TC4 |
T-00056 |
Note: Customer T/Cs are automatically closed when their linked W/O T/C is closed through TaskControl, but the Customer T/Cs can also be manually closed through the T/C Work window in eMRO.
Example: Customer T/C PDFs via W/O Closing
As customer PDFs are stamped by mechanics and inspectors through TaskControl, the stamped PDF is visible through the Attachments button in the W/O Task Card window (above). Further, the stamped PDFs will be included in the W/O Release Documents in their own folder.
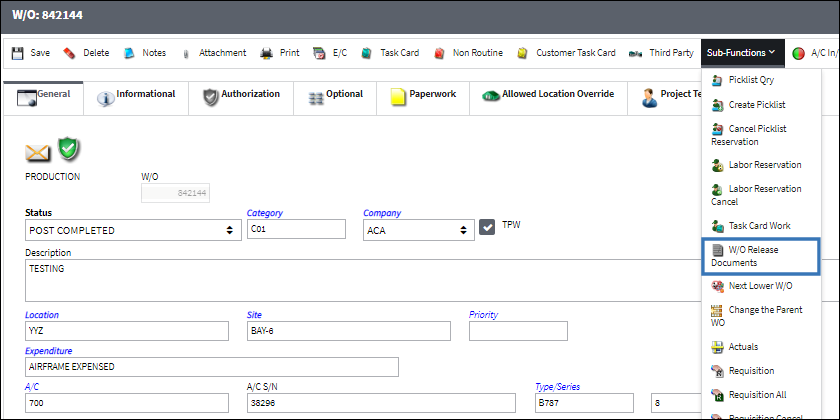
The W/O Release Documents are automatically generated when the W/O is Closed, or they can be generated manually by selecting the W/O Release Documents ![]() button in the W/O Detail window.
button in the W/O Detail window.
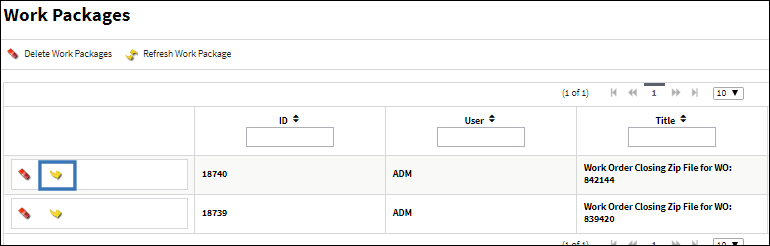
From the Print Queue, the print job is displayed in the Work Packages section. Click the Select ![]() button to download the files.
button to download the files.
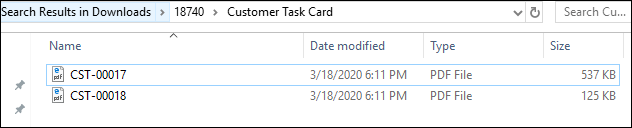
The Customer Task Card folder contains the stamped PDF files.
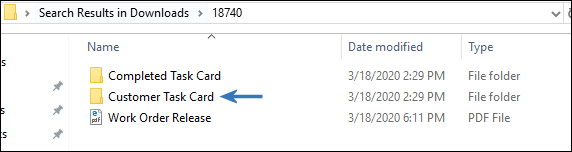
Select a PDF to view the stamps.
All mechanic and inspector stamps added through TaskControl are displayed in the PDF.

Share
Print
|
©1997-2024 Trax USA Corp. All rights reserved. This manual may not be copied, photocopied, reproduced, translated, or converted to any electronic or machine-readable form, in whole or in part, without prior written approval from Trax USA Corp. |
|